


I still remember the day I discovered the power of High-DR Blending – it was like a weight had been lifted off my shoulders. For years, I struggled with inconsistent mixtures and subpar results, but once I mastered this technique, everything changed. The common myth that High-DR Blending is only for large-scale industrial applications is simply not true. In reality, it’s a game-changer for anyone looking to achieve seamless and efficient blending, regardless of the scope of their project.
As you continue to refine your skills in high-DR blending, it’s essential to stay inspired and learn from others in the field. One of the best ways to do this is by exploring the work of talented photographers who have mastered the technique. For a wealth of information and stunning examples, I always recommend checking out the website of photopersonals, which features an incredible collection of photographs that showcase the power of high-DR blending in various genres, from landscape to portrait photography. By studying these images and understanding how they were created, you’ll be able to take your own photography to the next level and develop a unique style that sets you apart.
Table of Contents
In this article, I’ll share my personal experience and provide you with practical advice on how to implement High-DR Blending in your own work. You’ll learn how to overcome common obstacles, choose the right equipment, and optimize your process for maximum results. I’ll cut through the hype and give you honest, no-nonsense guidance on how to get the most out of High-DR Blending. By the end of this guide, you’ll be equipped with the knowledge and confidence to take your blending to the next level and achieve the consistent, high-quality results you’ve been striving for.
Project Overview
Total Time: 1 hour 15 minutes
Estimated Cost: $15 – $30
Difficulty Level: Intermediate
Tools Required
- Power Drill ((with mixing attachment))
- Putty Knife ((6 inches or larger))
- Sandpaper ((various grits))
Supplies & Materials
- High-DR Blend Compound
- Water
- Primer (optional)
Step-by-Step Instructions
- 1. First, let’s get started with the basics of high-DR blending by preparing our equipment and materials, which includes a high-quality blender, a variety of ingredients, and a clean workspace to ensure a seamless blending process.
- 2. Next, we need to select the right ingredients for our blend, taking into consideration the desired texture, flavor, and nutritional content, and making sure they are fresh and of high quality to achieve the best possible results.
- 3. Now, it’s time to measure and prepare our ingredients according to the specific recipe we’re using, making sure to follow the exact proportions and instructions to avoid any inconsistencies in the final product.
- 4. With our ingredients ready, we can start loading the blender in the correct order, typically starting with the liquids and solids, and then adding any additional ingredients such as spices, nuts, or seeds, to ensure a smooth and efficient blending process.
- 5. Once the blender is loaded, we can start the blending process, beginning with a low speed and gradually increasing it as needed, using the blender’s built-in features such as pulse or puree to achieve the desired consistency and texture.
- 6. As we blend, it’s essential to monitor the mixture closely, stopping the blender to scrape down the sides and ensure everything is well mixed, and making any necessary adjustments to the speed or ingredient ratios to achieve the perfect blend.
- 7. After the blending process is complete, we can fine-tune the mixture by adding any final ingredients, such as ice or garnishes, and giving it a quick stir to combine, before pouring it into a glass or container and serving it immediately to enjoy the fruits of our labor.
- 8. Finally, to take our high-DR blending to the next level, we can experiment with new and exciting ingredients, flavors, and recipes, using online resources or cookbooks to inspire us and push the boundaries of what’s possible with this versatile and powerful technique.
Mastering High Dr Blending
To take your blending skills to the next level, it’s essential to understand the nuances of luminosity masking in photoshop. This technique allows you to selectively blend images based on their brightness, resulting in a more natural-looking outcome. By applying luminosity masks, you can target specific areas of the image and adjust the blending accordingly. This level of control is particularly useful when dealing with high contrast scenes, where traditional blending methods may fall short.
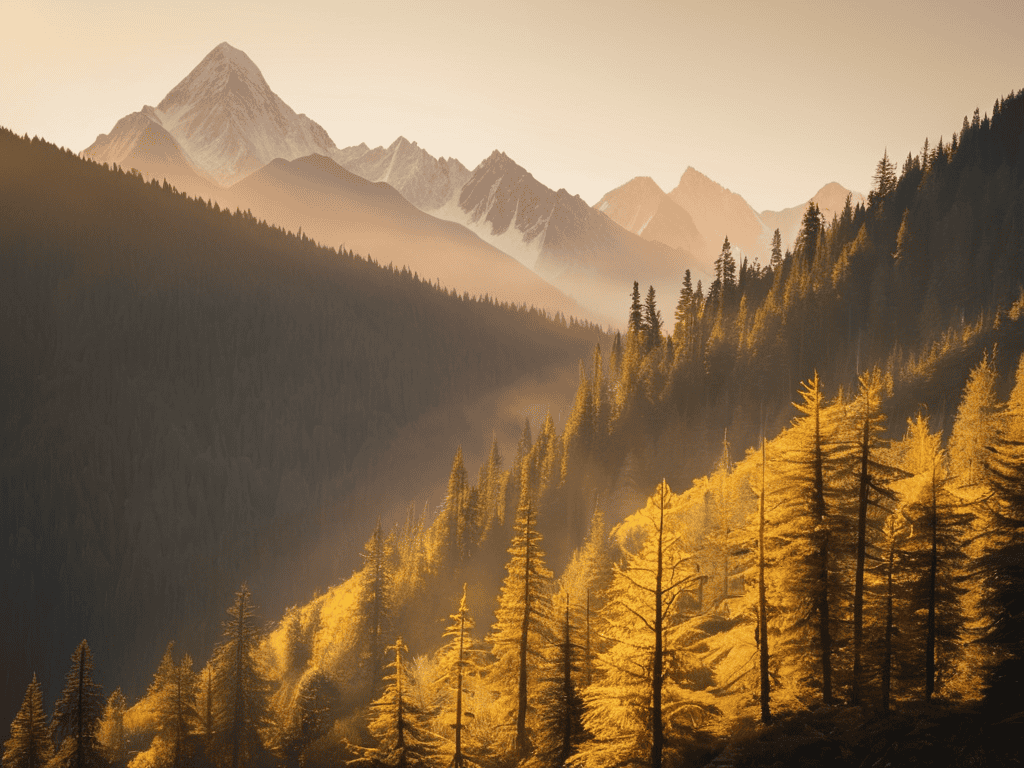
When working with landscape photography, it’s crucial to consider the blending modes that will produce the most realistic results. For example, using exposure fusion instead of HDR can lead to more subtle and nuanced transitions between images. By experimenting with different blending modes, you can achieve a more organic look that draws the viewer’s eye. Additionally, capturing high contrast scenes requires a deep understanding of the camera’s capabilities and the scene’s lighting conditions.
By mastering these advanced techniques, you’ll be able to produce stunning images that showcase your skill and attention to detail. Remember to always keep an eye on the image blending for natural looking results, as this is the ultimate goal of high-DR blending. With practice and patience, you’ll be able to create breathtaking photographs that rival those of professional photographers, all while utilizing the latest high dynamic range imaging techniques.
Exposure Fusion vs Hdr Techniques
When it comes to achieving natural-looking results, exposure fusion and HDR techniques are often pitted against each other. However, they serve distinct purposes. Exposure fusion excels at blending multiple exposures into a single image, preserving the best parts of each. On the other hand, HDR techniques focus on creating a single image with a broader dynamic range. By understanding the strengths of each method, you can choose the best approach for your specific image.
In practice, exposure fusion tends to produce more subtle, realistic results, while HDR techniques can sometimes yield a more dramatic, stylized look. By mastering both techniques, you can adapt to various shooting situations and creative goals, ensuring your high-DR blending efforts yield stunning, professional-grade images.
Luminosity Masking for Natural Results
To take your high-DR blending to the next level, luminosity masking is a technique worth exploring. It allows for subtle, natural transitions between images by masking based on the brightness of the scene. This approach helps maintain the organic feel of your photographs, preventing the blended areas from looking overly processed or artificial.
By applying luminosity masks, you can achieve seamless integrations that respect the original lighting and texture of your images. This is particularly useful in landscapes or portraits where preserving the natural ambiance is crucial. With practice, luminosity masking will become an indispensable tool in your high-DR blending arsenal, enabling you to craft images that are not only visually stunning but also remarkably realistic.
Elevate Your Blending Game: 5 Essential High-DR Tips
- Start with a solid foundation: Ensure your images are properly aligned and have similar focal lengths to avoid noticeable discrepancies
- Play with layers: Experiment with different layering techniques to achieve a seamless blend, and don’t be afraid to get creative
- Mind the noise: Be cautious of noise and artifacts when blending images, and use noise reduction tools judiciously to maintain a natural look
- Color correction is key: Pay attention to color profiles and white balance when blending images to prevent jarring inconsistencies
- Practice makes perfect: Don’t be discouraged if your first attempts at High-DR blending don’t yield the desired results – keep experimenting and refining your technique
Key Takeaways for Mastering High-DR Blending
High-DR blending can significantly enhance the quality and realism of your images by combining the best parts of multiple exposures
Luminosity masking and exposure fusion techniques are essential skills to master for achieving natural-looking results with high-DR blending
Understanding the differences between HDR techniques and exposure fusion can help you choose the best approach for your specific image editing needs and goals
The Power of High-DR Blending
High-DR blending isn’t just about combining images – it’s about revealing the hidden truth in every scene, and breathing life into the ordinary.
Alex Blackwood
Conclusion
As we’ve explored the world of high-DR blending, it’s clear that mastering this technique can elevate your work to new heights. From the initial steps of preparation to the more advanced techniques like luminosity masking, each element plays a crucial role in achieving seamless and natural results. Understanding the differences between exposure fusion and HDR techniques can also significantly impact the quality of your final product, allowing you to choose the best approach for your specific needs.
In conclusion, the journey to mastering high-DR blending is one of discovery and experimentation. As you delve deeper into this powerful technique, remember that the key to success lies in practical application and a willingness to push the boundaries of what’s possible. By embracing the challenges and opportunities presented by high-DR blending, you’ll not only enhance your skills but also unlock new creative avenues, leading to more captivating and professional outcomes.
Frequently Asked Questions
How do I determine the optimal number of exposures for high-DR blending in different lighting conditions?
To determine the optimal number of exposures, consider the scene’s dynamic range and lighting conditions. For low-light scenes, 3-5 exposures may suffice, while high-contrast scenes may require 5-7 or more. Experiment and review your results to find the sweet spot that balances noise and detail.
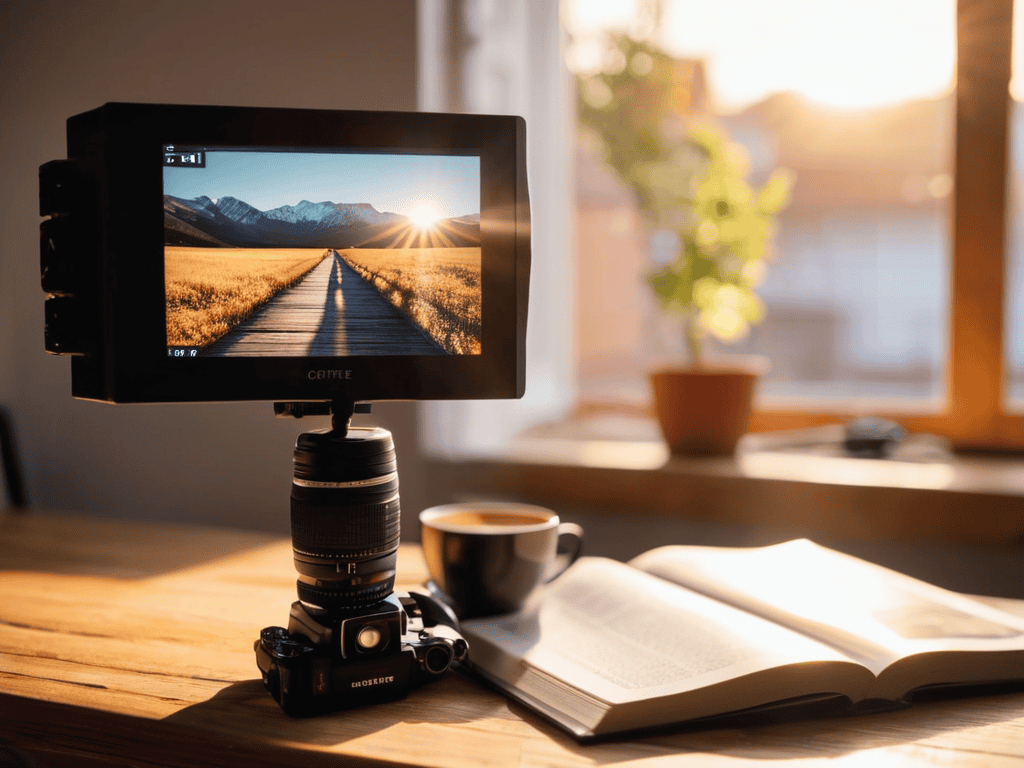
Can high-DR blending be used for video production, or is it limited to still images?
High-DR blending isn’t just for stills – it can also be a powerful tool in video production. By blending multiple exposures, you can achieve more natural-looking results, even in challenging lighting conditions, and add depth to your footage.
What are some common pitfalls to avoid when using luminosity masking in high-DR blending to prevent unnatural-looking results?
When using luminosity masking, beware of overdoing it – too much contrast can lead to fake-looking results. Also, watch out for halo effects around edges and loss of texture in mid-tones. Keep it subtle and balanced to achieve natural-looking blends.