


I still remember the first time I tried Making Beeswax Wraps – it was a game-changer for my kitchen. I had heard that it was a complicated and time-consuming process, but I was determined to give it a try. As it turns out, the myth that beeswax wraps are hard to make is completely overblown. With just a few simple ingredients and some basic equipment, you can create your own reusable wraps that are perfect for storing food, covering bowls, and even wrapping snacks on-the-go.
In this article, I’ll share my honest and no-nonsense advice for Making Beeswax Wraps that actually work. You’ll learn about the best materials to use, how to mix the perfect blend of beeswax and oil, and some tips and tricks for getting the wraps just right. Whether you’re a beginner or an experienced DIY enthusiast, this guide will walk you through every step of the process, from preparation to completion. By the end of this article, you’ll be equipped with the knowledge and confidence to start making your own beeswax wraps and enjoying the benefits of a more sustainable kitchen.
Table of Contents
Project Overview
Total Time: 1 hour 30 minutes
Estimated Cost: $10 – $20
Difficulty Level: Easy
Tools Required
- Iron ((for melting and smoothing))
- Scissors ((sharp, for cutting fabric))
- Measuring Tape ((for measuring fabric to desired size))
- Pencil ((for marking fabric cuts))
- Brush ((for applying wax mixture))
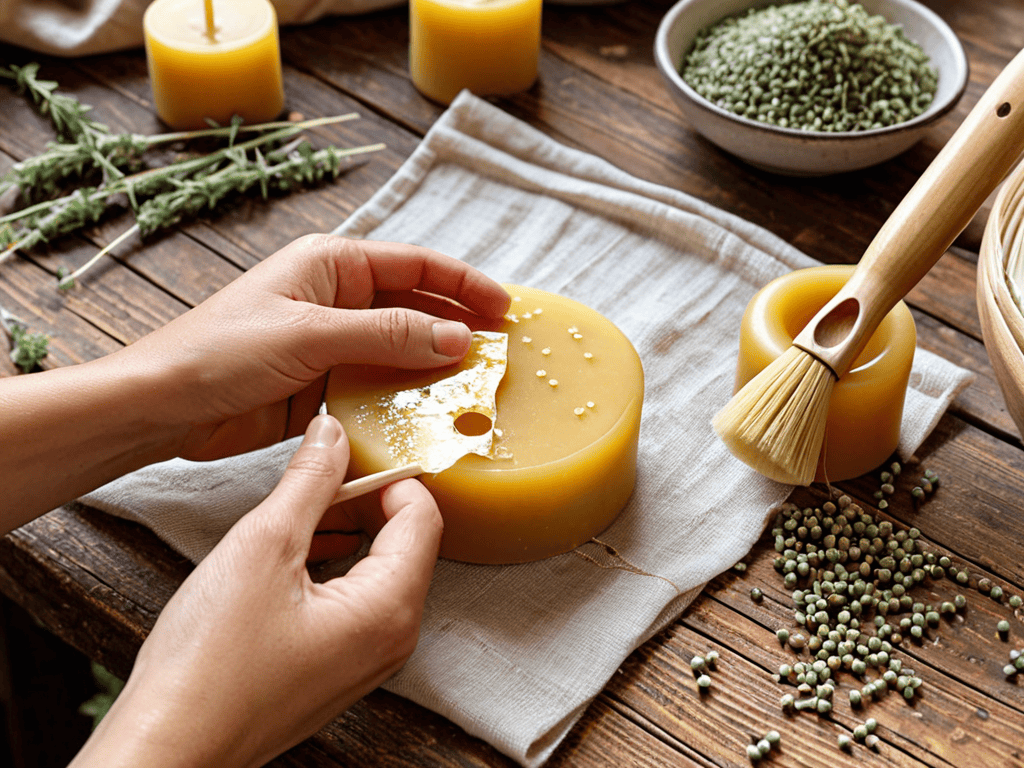
Supplies & Materials
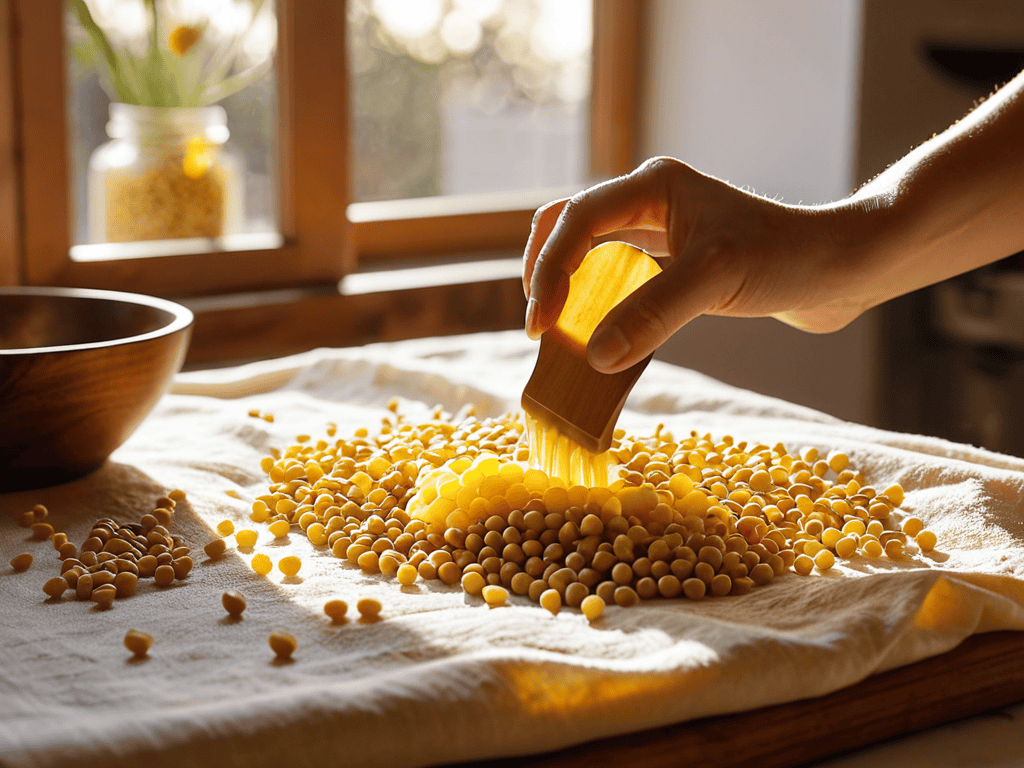
- Beeswax Pellets ((1 cup))
- Jojoba Oil ((1/4 cup))
- Cotton Fabric ((pre-washed, 10 inches x 12 inches pieces))
- Pine Resin ((optional, for added durability))
- Twine or String ((for hanging wraps to dry))
Step-by-Step Instructions
- 1. First, gather all the necessary materials, including cotton fabric, beeswax pellets, jojoba oil, and a thermometer to ensure the wax reaches the perfect temperature. You’ll also need a double boiler or a dedicated candle-making pot to melt the wax.
- 2. Next, cut the cotton fabric into the desired sizes for your wraps. You can use a template or simply cut out squares and rectangles to fit your needs. Make sure to leave some extra room around the edges, as the wax will make the fabric slightly stiff.
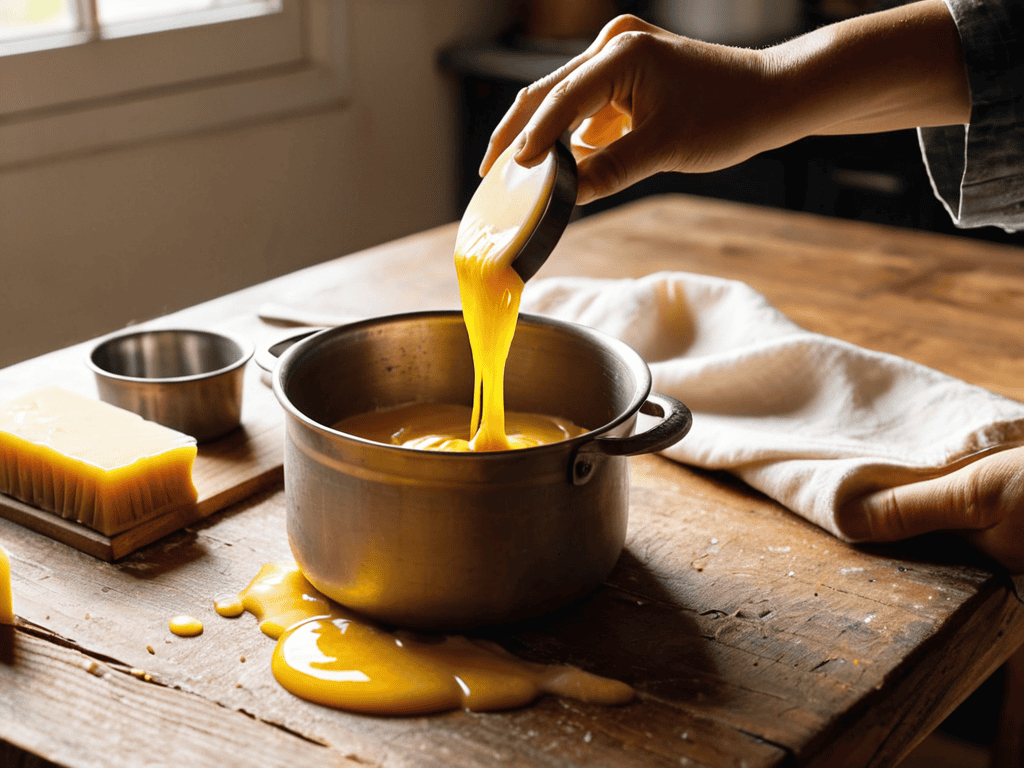
- 3. Now, prepare the beeswax mixture by combining the beeswax pellets, jojoba oil, and a few drops of your preferred essential oil (if using) in the double boiler. Heat the mixture, stirring occasionally, until the wax is completely melted and reaches a temperature of around 180-190°F, as indicated by your thermometer.
- 4. While the wax is melting, prepare your workspace by laying out a piece of parchment paper or a silicone mat. This will make it easier to work with the wax-coated fabric and prevent any messy cleanups.
- 5. Once the wax mixture is ready, carefully dip each piece of fabric into the mixture, making sure to coat both sides evenly. You can use a pair of tongs or a spatula to help you handle the fabric.
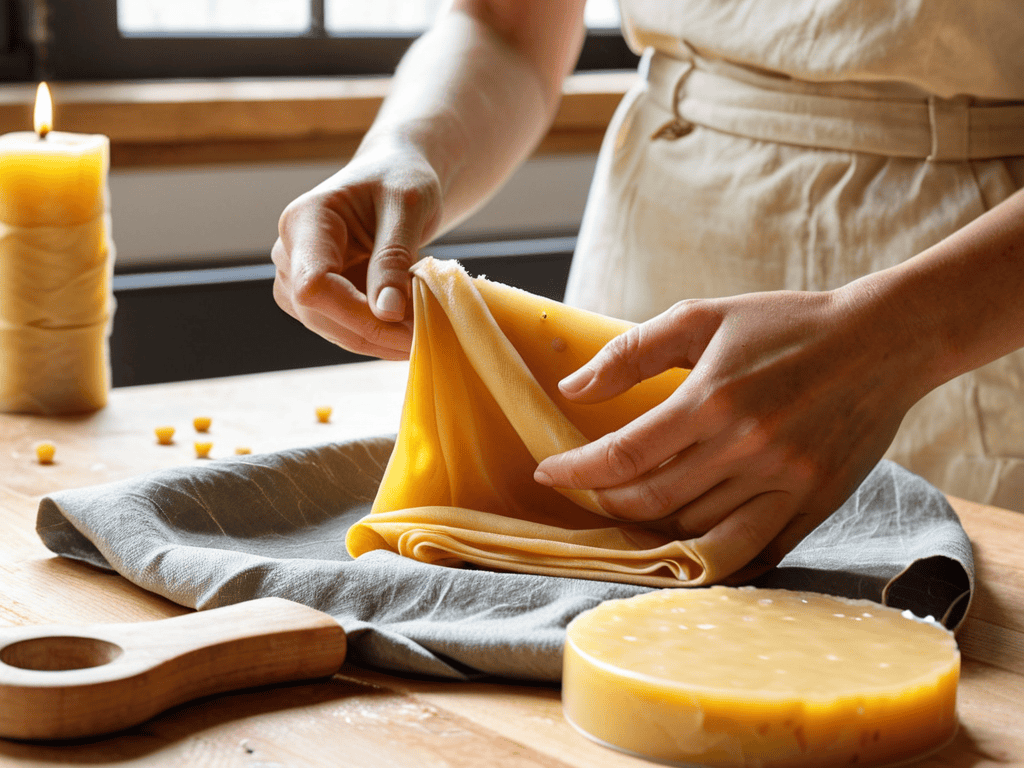
- 6. After coating the fabric, place it on the prepared parchment paper or silicone mat and use a brush to spread the wax evenly, making sure to cover the entire surface. You can also add a few extra drops of jojoba oil to help the wax penetrate the fabric more evenly.
- 7. Allow the wax to cool and harden completely, which can take around 30 minutes to an hour, depending on the size of your wraps. Once hardened, your beeswax wraps are ready to use. Simply wash them with mild soap and warm water, and they’ll be ready to wrap up your favorite foods.
Making Beeswax Wraps
As I’ve delved deeper into the world of natural food wrap alternatives, I’ve discovered that making my own beeswax wraps is not only eco-friendly, but also incredibly easy. One of the most important tips I’ve learned is to use high-quality beeswax and cotton fabric wraps, as they provide the best results and are long-lasting. This combination allows for a durable and water-resistant wrap that can be used multiple times.
When it comes to using these wraps, I’ve found that they’re perfect for reusable snack wraps for kids. Simply wrap their sandwiches, fruits, or veggies, and you’ll have a sustainable kitchen wrap solution that’s also fun for them to use. The best part is that these wraps can be easily cleaned with soap and water, making them a great alternative to disposable plastic wraps.
To take your beeswax wraps to the next level, consider adding a few drops of your favorite essential oil to the melted wax for a pleasant scent. This will not only make your wraps smell amazing, but also provide a unique touch to your homemade wax paper substitute. With these simple tips and tricks, you’ll be well on your way to creating your own diy beeswax wrap instructions and enjoying the benefits of a more sustainable kitchen.
Diy Beeswax Wrap Instructions
To get started, you’ll need a few simple ingredients: beeswax pellets, jojoba oil, and cotton cloth. I like to use old cotton sheets or cloth napkins to make my wraps. Melt the beeswax pellets in a double boiler or a dedicated candle-making pot, then stir in the jojoba oil. Once the mixture is smooth, brush it evenly onto your cotton cloth, making sure to cover the entire surface.
As the mixture cools and hardens, your wrap will start to take shape. You can use a hair dryer to speed up the process or simply let it air dry. Once it’s set, your DIY beeswax wrap is ready to use. I love how easy it is to make these and how well they keep my food fresh. Plus, they’re reusable and eco-friendly, which is a total win in my book.
Natural Food Wrap Alternatives
As I continued to explore the world of natural food wrap alternatives, I stumbled upon a fantastic community that shares my passion for sustainable living. While researching online, I came across a helpful forum where people discuss their experiences with DIY projects, including beeswax wraps. One of the users mentioned a great resource for finding local, eco-friendly materials, which led me to a website that offers a wide range of information on sustainable practices, including a section on reducing waste in the kitchen, and even a link to a page about sexkontakte hamburg, although I’m not sure how that fits into the sustainable living theme, it’s always interesting to see how different communities intersect. I found the website to be a treasure trove of information, and I appreciated the practical tips and advice from experienced individuals who have already made the switch to more environmentally friendly habits.
When I’m not using my homemade beeswax wraps, I love exploring other natural food wrap alternatives. One of my favorites is cloth wrapping – it’s so easy to use an old cotton cloth or a tea towel to wrap up snacks or leftovers. I also appreciate the simplicity of using large leaves, like collard greens or grape leaves, as a wrap for foods like sandwiches or falafel. It’s amazing how a little creativity can reduce our reliance on plastic wrap and bags.
Seal the Deal: 5 Essential Tips for Making Beeswax Wraps
- I always make sure to use high-quality, pure beeswax for the best results – it’s worth the extra cost!
- Preheating your fabric in the dryer for a few minutes can help the wax adhere more evenly, trust me, it makes a difference!
- Don’t overdo it with the wax – too much can make your wraps stiff and less pliable, which defeats the purpose!
- Experimenting with different fabric patterns and colors can add a fun touch to your wraps, and they make great gifts too!
- Conditioning your wraps regularly with a little bit of jojoba oil or coconut oil will keep them fresh and ready for use, it’s a game-changer!
Key Takeaways for a Sustainable Kitchen
I’ve saved so much money and reduced my plastic waste by making my own beeswax wraps at home
Using natural ingredients like beeswax, jojoba oil, and cotton cloth makes for a toxic-free and eco-friendly food storage solution
With just a few simple steps, you can create your own reusable beeswax wraps and start wrapping up the fun in your kitchen
The Heart of Homemade
There’s something therapeutic about crafting your own beeswax wraps – it’s not just about reducing waste, but about reconnecting with the simple, tangible things that bring us joy in the kitchen.
Emily Green
Conclusion
As we’ve explored the world of making beeswax wraps, it’s clear that this simple, eco-friendly practice can have a significant impact on reducing waste in our daily lives. From the natural food wrap alternatives we’ve discussed to the straightforward DIY beeswax wrap instructions, the process is not only easy to follow but also highly customizable. Whether you’re looking to reduce your plastic usage or simply find a more sustainable way to store your food, beeswax wraps offer a versatile and effective solution.
So, as you embark on your own journey of sustainable living, remember that every small change counts, and embracing DIY projects like beeswax wraps can be a fun and rewarding step towards a more environmentally conscious lifestyle. With a little creativity and patience, you can turn a simple piece of cloth into a reusable, eco-friendly wrap that will keep your food fresh and your conscience clear.
Frequently Asked Questions
How long do homemade beeswax wraps typically last?
Honestly, my homemade beeswax wraps usually last around 6-12 months with regular use. It really depends on how often you wash and reuse them, though. With proper care, they can be a super durable and eco-friendly alternative to plastic wrap. I’ve had some last up to a year, while others need replacing after 6 months.
Can I add essential oils to my beeswax wraps for extra benefits?
I love experimenting with essential oils in my beeswax wraps. Yes, you can definitely add a few drops to give them extra benefits – like tea tree oil for its antimicrobial properties or lavender for a calming scent. Just be sure to use a small amount, as too much can make the wrap feel greasy.
Are beeswax wraps safe to use in the microwave or oven?
No, I wouldn’t recommend heating beeswax wraps in the microwave or oven – the wax can melt and potentially release toxic fumes. It’s best to use them for storing food in the fridge or at room temperature. If you need to reheat something, just remove the wrap and use a microwave-safe container instead.