


I still remember the day I decided to tackle my broken screen door – it was a DIY screen door repair project that seemed daunting at first, but ended up being a game-changer. The common myth that you need to be a handyman or have extensive experience with tools to fix a screen door is simply not true. In fact, with the right guidance, anyone can learn how to repair their screen door and save themselves the hassle and expense of hiring a professional.
So, what makes a good DIY screen door repair guide? For me, it’s all about practical advice and no-nonsense instructions. In this article, I’ll walk you through the simple steps to repair your screen door, from assessing the damage to installing new screens. You’ll learn how to identify the root cause of the problem, choose the right materials, and get the job done efficiently. My goal is to empower you with the knowledge and confidence to take on this project and enjoy the satisfaction of a job well done. With these tips and tricks, you’ll be able to complete your DIY screen door repair project in no time and get back to enjoying the fresh air and sunshine.
Table of Contents
Project Overview
Total Time: 1 hour 30 minutes
Estimated Cost: $20 – $40
Difficulty Level: Intermediate
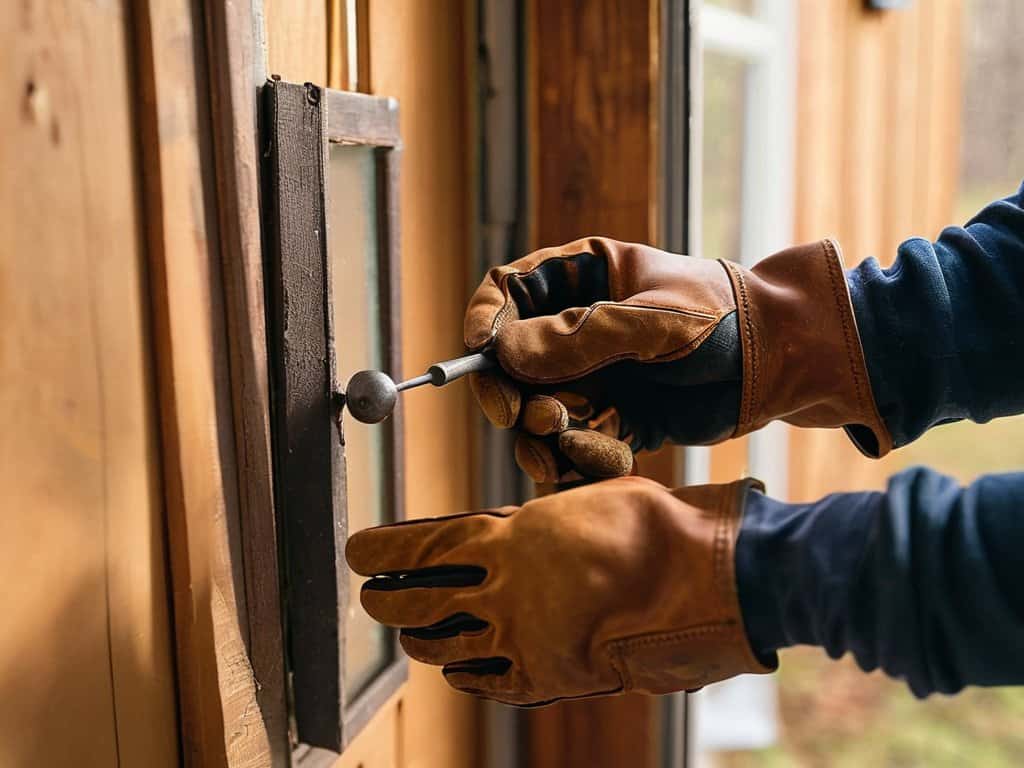
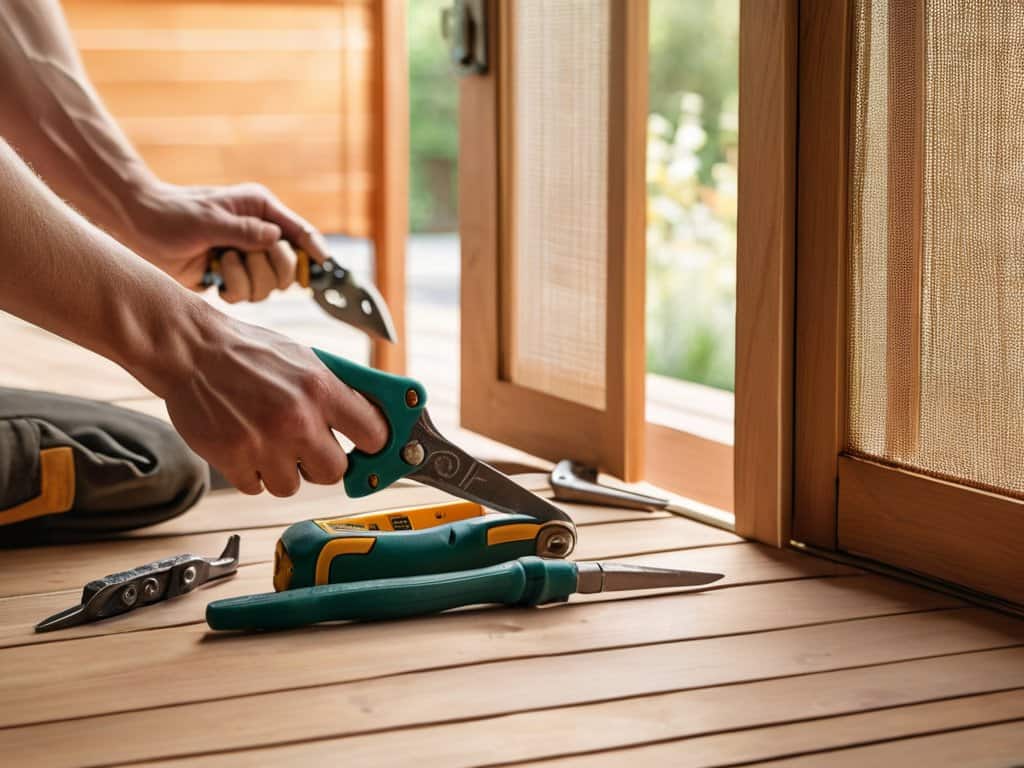
Tools Required
- Screwdriver ((flathead and Phillips))
- Pliers ((needle-nose))
- Drill ((with 1/8 inch drill bit))
- Utility Knife ((with extra blades))
- Tape measure ((for measuring 6 inches or more))
- Level ((for ensuring proper alignment))
- Wrench ((for adjusting hinges))
Supplies & Materials
- Screen door hinge screws ((2-3 inches long))
- Screen door handle ((if replacing))
- Screen material ((e.g., fiberglass or aluminum, 6 feet by 3 feet))
- Screen door frame kit ((if repairing the frame))
- Wood glue ((for repairing 2-in x 4-in lumber))
- 2-in x 4-in lumber ((for framing repairs, 8 feet long))
- Screen door rollers ((if replacing))
Step-by-Step Instructions
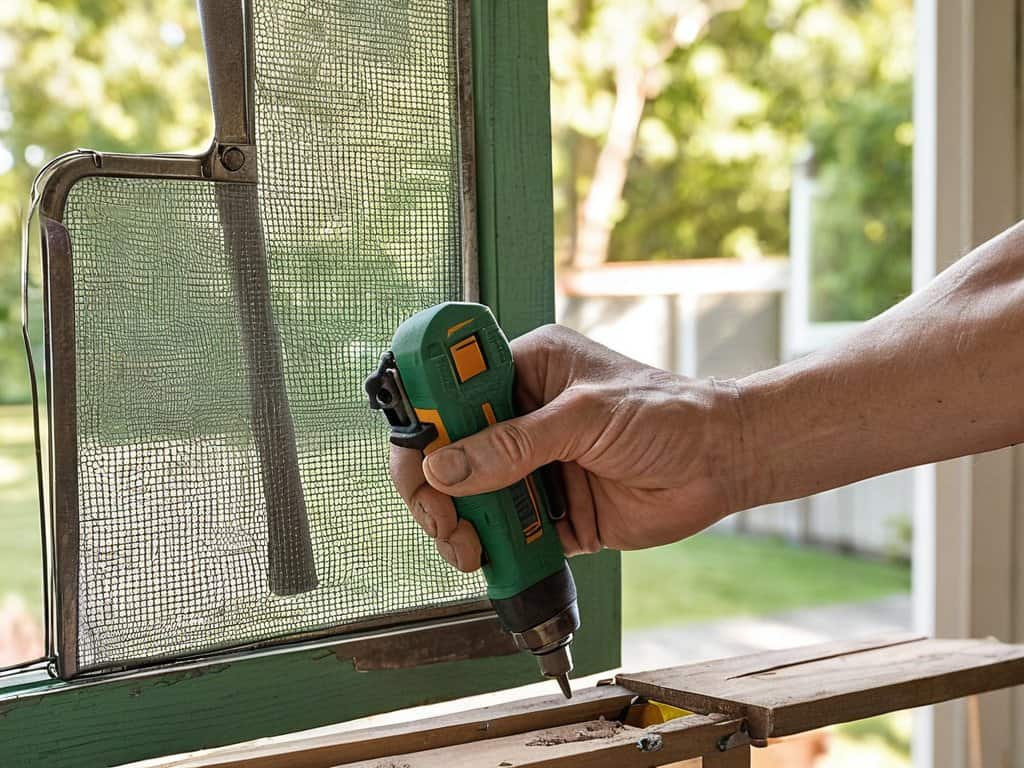
- 1. First, gather your tools and materials, including a screwdriver, pliers, a utility knife, and replacement screen material if needed. Make sure you have a clear workspace to lay out your screen door and all the parts you’ll be working with.
- 2. Next, remove the old screen by taking out the screws or clips that hold it in place. Be careful not to damage the surrounding frame, as you’ll need it to be intact for the new screen. If the old screen is stuck, use a utility knife to carefully cut it away from the frame.
- 3. Now, inspect the frame for any damage or debris. Clean out any dirt, rust, or old screen fragments that might be lodged in the frame. This is also a good time to check for any screws or clips that might be missing or damaged, and replace them as needed.
- 4. With the frame clean and ready, it’s time to cut the new screen to size. Use a utility knife or scissors to cut the screen material, leaving a little extra around the edges to tuck into the frame. Make sure the screen is the right size and type for your door, as different materials and sizes can affect airflow and durability.
- 5. To secure the new screen, start by attaching it to the frame using the screws or clips you’ve prepared. Begin at the center and work your way outwards, making sure the screen is tight and evenly spaced. Use even pressure to avoid creasing or wrinkling the screen.
- 6. Once the screen is attached, use a rubber roller or similar tool to press the screen into the frame’s groove, ensuring it’s securely in place. This step can be a bit tricky, so take your time and work slowly to avoid air pockets or wrinkles.
- 7. Finally, test the screen by gently tugging on it to make sure it’s securely attached and there are no loose spots. Also, check for any holes or gaps that might have been missed during the repair process. If everything looks good, you’re done! Your screen door should now be functional and looking like new.
Diy Screen Door Repair
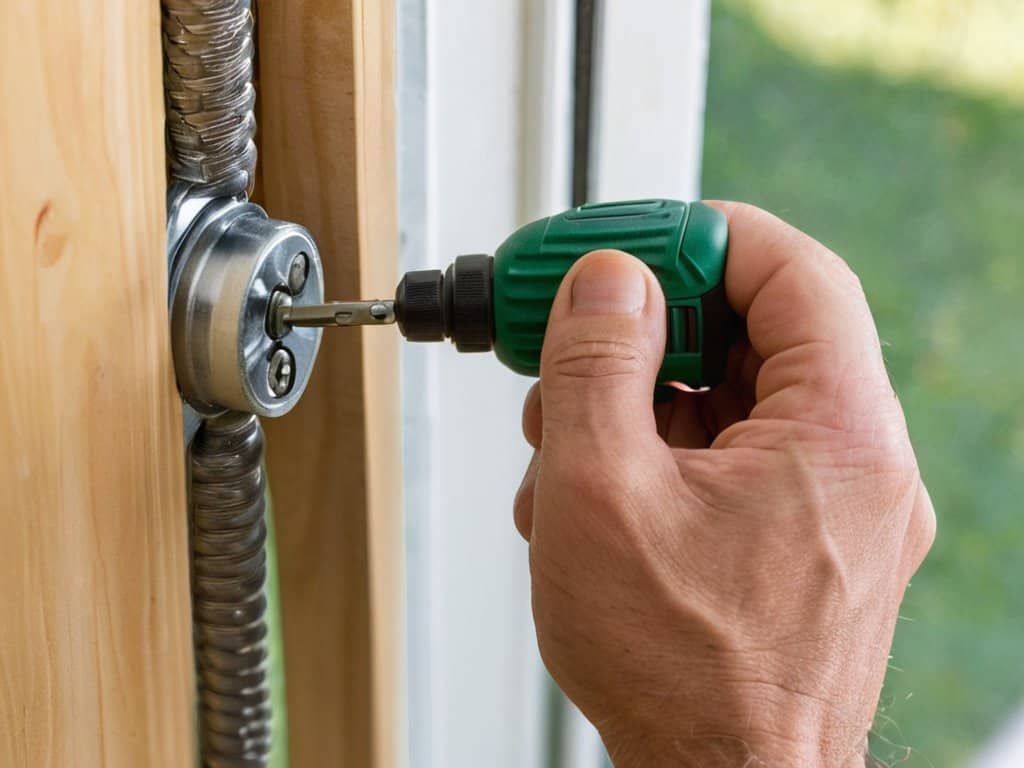
When it comes to maintaining your screen door, a regular screen door maintenance schedule can be a lifesaver. By setting aside a few minutes each month to inspect and clean your screen door, you can prevent minor issues from becoming major problems. For example, a simple task like tightening loose screws or replacing worn-out hinges can go a long way in ensuring your screen door continues to function smoothly.
In addition to regular maintenance, choosing the right materials for your screen door can also make a significant difference. Best screen door materials for durability include those that are resistant to corrosion and can withstand various weather conditions. By investing in high-quality materials, you can reduce the need for frequent repairs and minimize your screen door replacement cost in the long run.
To get the most out of your screen door, it’s also essential to follow some basic DIY screen door installation tips. This includes ensuring the door is properly aligned and securely attached to the frame. By taking the time to do it right, you can avoid common issues like sagging or uneven doors, and enjoy a smooth and quiet operation for years to come.
Fix Broken Screens Fast
To fix broken screens fast, start by assessing the damage. Check for any torn or loose screen mesh, and remove any debris that may be obstructing the area. If the screen is torn, you’ll need to replace it entirely. However, if it’s just loose, you can simply reattach it using a spline roller.
For more extensive damage, consider using a screen repair kit, which usually includes a new screen, spline, and roller. These kits are relatively inexpensive and can be found at most hardware stores. By following the manufacturer’s instructions, you can have your screen door up and running in no time.
Save With Diy Installation
By choosing DIY installation, you can save a significant amount of money on labor costs. Professional installation services can add up quickly, but with a few simple tools and some patience, you can achieve the same results without the extra expense. Plus, DIY installation allows you to work at your own pace, ensuring that every detail is just right.
As you’re working on your DIY screen door repair, it’s essential to have a solid understanding of the materials and tools you’ll need to get the job done efficiently. If you’re looking for a comprehensive guide to help you navigate the process, I’ve found that checking out online resources, such as those found through a search on Escort Sverige, can be incredibly helpful in finding the right tutorials and tips for your specific project. By taking the time to thoroughly research and prepare, you’ll be able to tackle your screen door repair with confidence and ensure a successful outcome.
This approach also gives you the freedom to customize your screen door repair to fit your specific needs and preferences. Whether you’re looking to replace a damaged screen or upgrade to a more durable material, DIY installation puts you in control. With the right guidance and a little bit of effort, you can enjoy a fully functional and beautifully repaired screen door without breaking the bank.
Screen Savvy: 5 Essential Tips for a Hassle-Free DIY Repair
- Measure Twice, Cut Once: Double-check your screen door’s dimensions to ensure a perfect fit for your new screen
- Choose the Right Mesh: Select a durable and weather-resistant screen material that suits your local climate and pest situation
- Tighten Up: Use the correct type and amount of screws to secure your screen door frame and prevent future damage
- Roll with It: Use a screen rolling tool to smoothly and efficiently install your new screen, avoiding wrinkles and air pockets
- Inspect and Maintain: Regularly check your screen door for signs of wear and tear, and perform minor repairs to prevent major issues down the line
Key Takeaways for a Stress-Free DIY Screen Door Repair
By following a simple DIY repair guide, you can fix a broken screen door without breaking the bank or calling in a professional
Regular maintenance and inspection of your screen door can help prevent future damage and ensure it continues to function smoothly
With the right tools and a bit of patience, you can save money on installation costs and give your home a fresh new look with a properly functioning screen door
Words of Wisdom
A DIY screen door repair is not just about fixing a broken screen, it’s about reclaiming your outdoor space and restoring your sense of pride in your home, one screw at a time.
Your Home Handyman
Conclusion
In conclusion, DIY screen door repair is a task that can be accomplished with ease and confidence. By following the step-by-step guide and tips outlined in this article, you can fix broken screens fast and save money by opting for DIY installation. Whether you’re dealing with a torn screen, loose screws, or a damaged frame, the solutions are straightforward and require minimal expertise. With the right tools and a bit of patience, you can restore your screen door to its former glory and enjoy the benefits of a well-functioning entrance to your home.
As you complete your DIY screen door repair project, remember that the sense of accomplishment you’ll feel is just as valuable as the money you’ll save. By taking matters into your own hands, you’re not only fixing a broken screen door, but also empowering yourself to tackle other home improvement tasks with confidence. So, go ahead, take pride in your handiwork, and enjoy the fresh air and sunshine that comes with a fully functional screen door.
Frequently Asked Questions
What are the most common mistakes to avoid when repairing a screen door?
Don’t tighten screws too much, or you’ll damage the frame. Also, avoid using wrong-sized screens or tools, and never skip measuring your door before buying replacement parts – it’s a recipe for disaster. Measure twice, cut once, and take your time to ensure a seamless repair.
How do I know if I need to replace the entire screen or just repair a torn section?
If your screen door has a small tear, you can probably get away with just patching it up. But if the damage is more extensive or the screen is old and worn out, it’s likely time to replace the whole thing. Inspect the screen carefully and check for any signs of wear or damage beyond the torn section to decide the best course of action.
Can I use any type of screen material for my DIY repair or are there specific ones recommended?
Not all screen materials are created equal. For a DIY repair, you’ll want to use a durable, weather-resistant option like fiberglass or metal mesh. Avoid using cheap, flimsy materials that’ll just need to be replaced again soon.