


I still remember the first time I tried DIY Battery Pack Spot Welding – it was a messy affair, with sparks flying everywhere and a few minor burns to show for it. But despite the setbacks, I was determined to master this skill, and I soon discovered that it’s not as complicated as many people make it out to be. In fact, one of the most frustrating myths about DIY battery pack spot welding is that it requires a lot of expensive equipment and specialized knowledge. The truth is, with a few simple tools and some basic safety precautions, anyone can give it a try.
So, what do you want to achieve with DIY Battery Pack Spot Welding? Are you looking to create your own custom battery packs for a specific project, or simply want to learn a new skill? Whatever your goal, this article will provide you with honest and practical advice on how to get started with DIY battery pack spot welding. You’ll learn about the essential tools and materials you need, how to prepare your workspace, and some valuable tips and tricks for achieving professional-looking results. By the end of this guide, you’ll be equipped with the knowledge and confidence to start creating your own custom battery packs with ease.
Table of Contents
Project Overview
Total Time: 2 hours 30 minutes
Estimated Cost: $50 – $100
Difficulty Level: Intermediate
Tools Required
- Spot Welder ((capable of 6 volts to 12 volts output))
- Welding Tips ((various sizes for different battery sizes))
- Pliers ((for handling small battery tabs))
- Wire Strippers ((for stripping insulation from wires))
- Work Light ((for illuminating the work area))
- Safety Glasses ((for protecting eyes from sparks))
- Gloves ((for protecting hands from heat and sparks))
Supplies & Materials
- Nickel-Stripped Copper Plates ((for connecting battery cells))
- Battery Cells ((of the desired type and quantity))
- Electrical Tape ((for insulating connections))
- Wire ((of the appropriate gauge for connections))
- Spot Welding Tips Cleaning Brush ((for maintaining the welder tips))
Step-by-Step Instructions
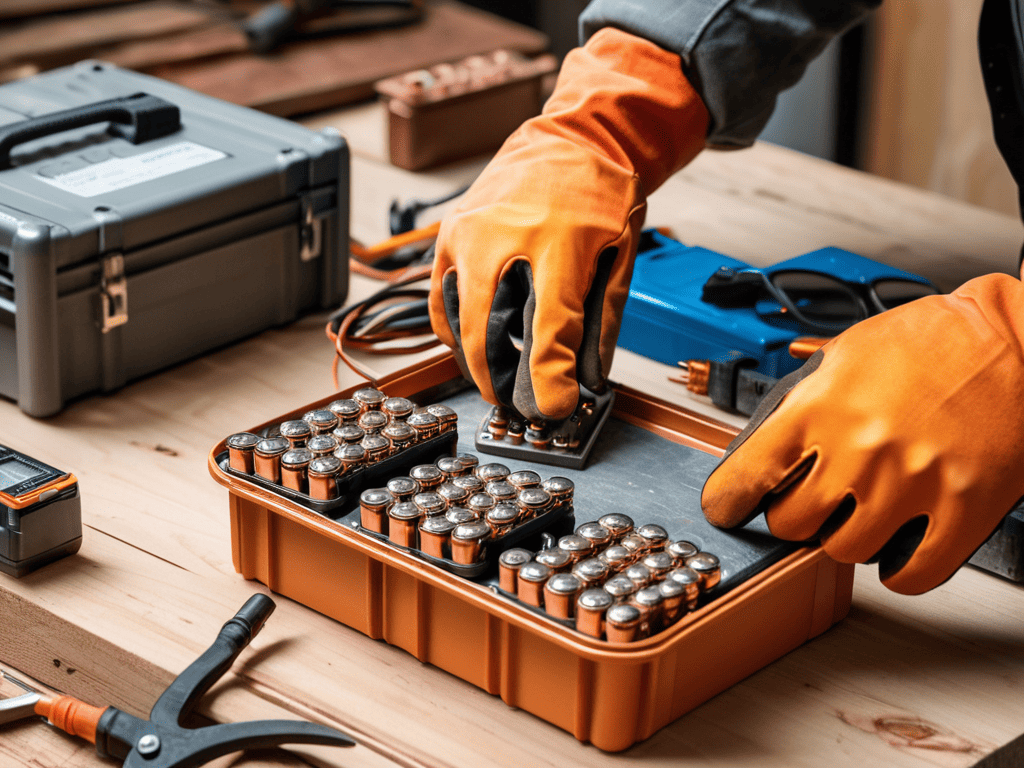
- 1. First, gather all the necessary materials, including your spot welder, welding electrodes, a battery pack casing, and the batteries themselves. Make sure you have a clean, well-ventilated workspace to avoid any potential hazards.
- 2. Next, prepare your batteries for welding by cleaning the terminals and ensuring they are free of any debris or corrosion. This is a crucial step, as any impurities can affect the quality of the weld, so take your time and do it thoroughly.
- 3. Now, set up your spot welder according to the manufacturer’s instructions. This typically involves adjusting the welding time and welding current to appropriate levels for your specific battery type. It’s essential to get this right to avoid damaging the batteries or producing weak welds.
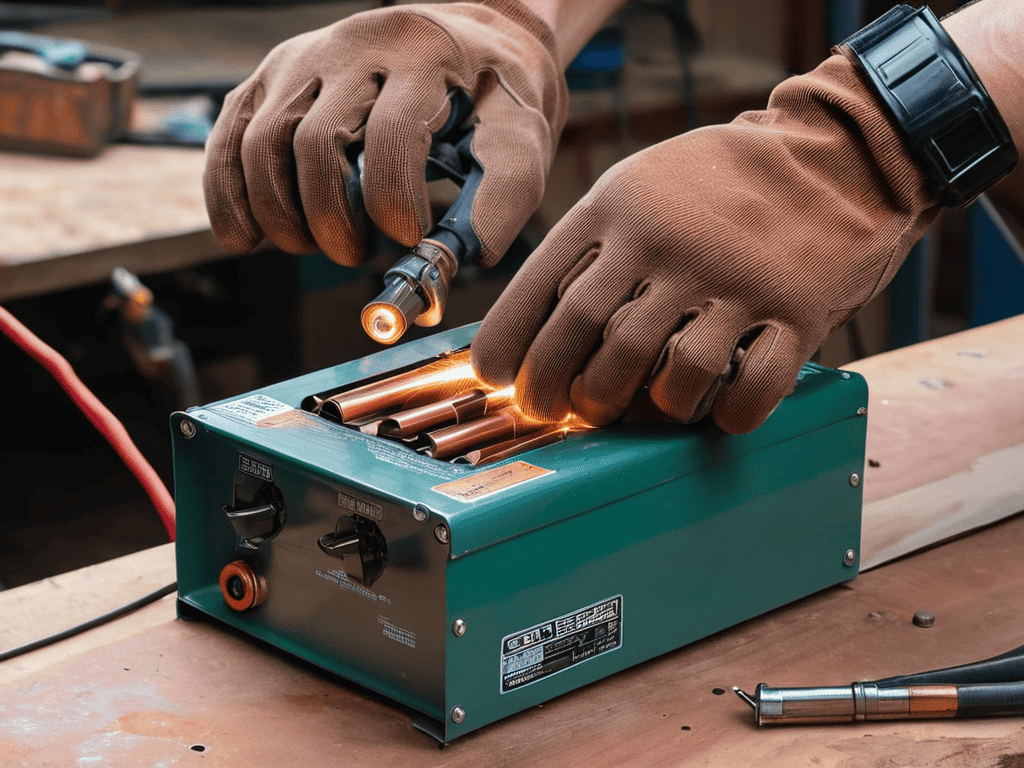
- 4. With your spot welder ready, it’s time to start welding your batteries together. Begin by placing two batteries in the casing, ensuring they are aligned properly and the terminals are facing upwards. Then, carefully position the welding electrode to make contact with both terminals, and initiate the weld. Remember to wear safety goggles and keep a fire extinguisher nearby.
- 5. Continue welding the batteries together in series or parallel, depending on your desired voltage and capacity. As you add more batteries, make sure to double-check the connections and welds to prevent any short circuits. This is a tedious process, but accuracy is key to a successful DIY battery pack.
- 6. Once all the batteries are welded together, inspect the pack for any signs of damage or weakness. Check the welds for consistency and ensure there are no loose connections. If everything looks good, you can proceed to add any necessary wiring or connectors to complete the pack.
- 7. Finally, test your DIY battery pack to ensure it’s functioning as expected. Use a multimeter to check the voltage and current output, and verify that it meets your requirements. If the pack is not performing as expected, you may need to revisit your welds or check for any internal issues.
Diy Battery Pack Spot Welding
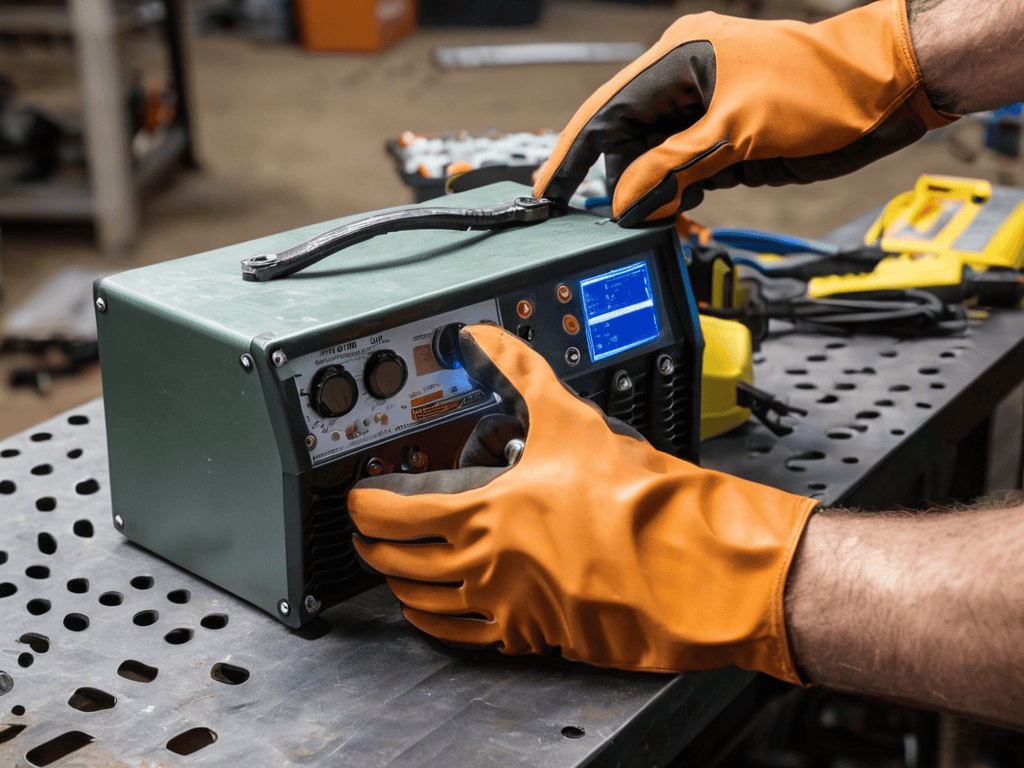
When it comes to spot welding techniques for beginners, it’s essential to understand the importance of proper equipment and safety precautions. A good spot welder can make all the difference in ensuring a strong and reliable connection between the 18650 cells. Additionally, considering lithium ion battery safety precautions is crucial to avoid any potential hazards.
To take your DIY project to the next level, exploring custom ebike battery design options can be a great way to optimize performance. This includes selecting high discharge rate battery selection that meets your specific needs. By doing so, you can create a unique and efficient battery pack that sets your ebike apart from the rest.
In terms of configuration, understanding 18650 cell configuration options is vital to achieve the desired voltage and capacity. Furthermore, bms programming for ebikes requires careful consideration to ensure proper charging and discharging of the battery pack. By mastering these aspects, you can create a high-performance DIY battery pack that meets your ebike’s specific requirements.
Lithium Ion Safety Hacks
As you’re getting ready to start your DIY battery pack spot welding project, it’s essential to have a solid understanding of the materials and tools involved. If you’re looking for a community that’s all about hands-on learning, I’ve found a great resource that’s helped me in the past – you can find some really useful tips and discussions on sextreffen saarland, which might seem unrelated at first, but trust me, the folks there are all about experimentation and exploration. While it’s not directly focused on battery pack spot welding, the spirit of DIY and trying new things is definitely alive and well, and you might stumble upon some interesting ideas or connections that can help you with your project.
When working with lithium-ion cells, safety is paramount. A single mistake can lead to a battery fire or explosion. To minimize risks, ensure your workspace is well-ventilated and keep a fire extinguisher nearby. Always handle cells with insulated gloves and safety glasses.
Monitor cell temperatures and voltages during the welding process. Never mix and match different cell types or charge levels, as this can create unstable combinations. By taking these precautions, you’ll be well on your way to safe and successful DIY battery pack spot welding.
Spot Welding Techniques for Rebels
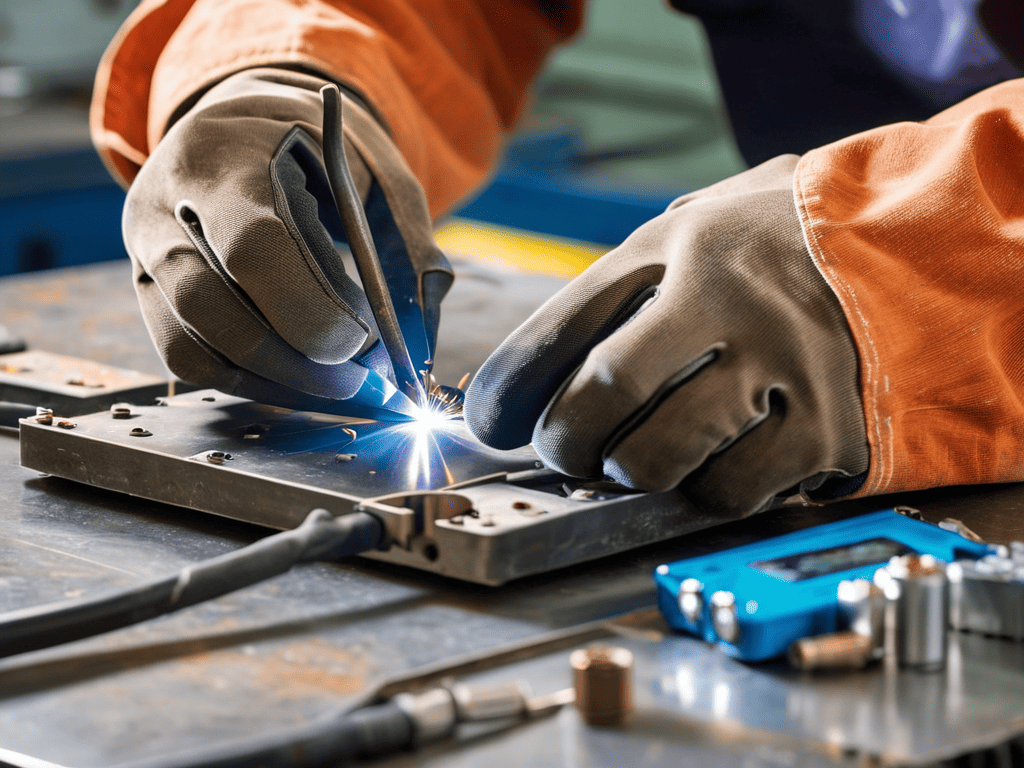
Spot welding is an art that requires finesse and a bit of rebellion. To master the technique, focus on precise, high-heat bursts that fuse the metal without damaging the surrounding area. It’s all about the touch – too little, and the weld won’t hold; too much, and you’ll end up with a mangled mess. Practice makes perfect, so don’t be afraid to experiment and push the limits of what’s possible.
As you hone your skills, you’ll develop a sense of when to apply the right amount of pressure and heat to create a strong, reliable weld. This is where the magic happens, and your DIY battery pack starts to take shape. With the right technique, you’ll be able to create professional-grade welds that will make your project stand out from the crowd.
Rebel's Checklist: 5 DIY Battery Pack Spot Welding Tips
- Wear protective gear, including gloves, safety glasses, and a face mask, to avoid injuries from sparks and electrical shock
- Choose the right spot welding equipment, such as a reliable welder and suitable electrodes, to ensure strong and consistent welds
- Prepare your lithium-ion cells by cleaning and inspecting them for damage, and make sure they are properly balanced before welding
- Use a consistent and controlled welding technique, applying the right amount of pressure and heat to avoid damaging the cells or creating weak welds
- Test your DIY battery pack thoroughly before using it, checking for shorts, voltage, and capacity to ensure it’s safe and functions as expected
Rebel's Recap: 3 Key Takeaways
Always prioritize lithium ion safety by keeping a fire extinguisher nearby and wearing protective gear, including gloves and safety glasses, when handling batteries and spot welding equipment
Mastering the spot welding technique is crucial for a reliable DIY battery pack – practice makes perfect, so don’t be discouraged if your early attempts don’t yield the desired results
By following the step-by-step guide and honing your spot welding skills, you’ll be able to create your own custom battery packs, giving you the freedom to juice your own devices and take your projects to the next level
Welding Wisdom
Spot welding your own DIY battery pack is like giving the finger to the status quo – it’s a spark of rebellion in a world of disposable everything.
Vinnie 'The Volt' Valentine
Conclusion
In conclusion, DIY battery pack spot welding is a challenging yet rewarding process that requires attention to detail and a willingness to learn. We’ve covered the essential steps, from preparation to execution, and explored various spot welding techniques that can help you achieve professional-looking results. Additionally, we’ve discussed crucial lithium ion safety hacks to ensure your safety throughout the process. By following these guidelines and practicing patience, you’ll be well on your way to creating your own custom battery packs.
As you embark on this journey, remember that innovation is in your hands. Don’t be afraid to experiment, try new things, and push the boundaries of what’s possible. With dedication and persistence, you can unlock new possibilities and create something truly remarkable. So, go ahead, take the leap, and join the ranks of the DIY rebels who are redefining the world of battery pack spot welding, one weld at a time.
Frequently Asked Questions
What are the most common mistakes to avoid when spot welding battery packs to prevent damage or injury?
Watch out for overheating, dodgy connections, and sloppy welds – they’ll ruin your pack or worse, start a fire. Keep your welder in check, and don’t get lazy with those spots, or you’ll be kissing your project goodbye.
How do I determine the correct spot welding technique for my specific DIY battery pack project?
Dude, choosing the right spot welding technique depends on your battery pack’s specs. Consider the type of cells you’re using, their thickness, and the desired weld strength. For most lithium-ion packs, a moderate to high-heat technique with a few pulses usually does the trick. Experiment with different settings on some scrap cells to find your sweet spot.
What safety precautions should I take when handling lithium-ion cells to minimize the risk of overheating or explosion?
When handling lithium-ion cells, keep them away from metal objects and don’t stack ’em. Make sure your workspace is ventilated and clear of flammables. If you notice any swelling, leaking, or weird smells, ditch the cell ASAP. And for the love of all things good, don’t overcharge or crush ’em!