


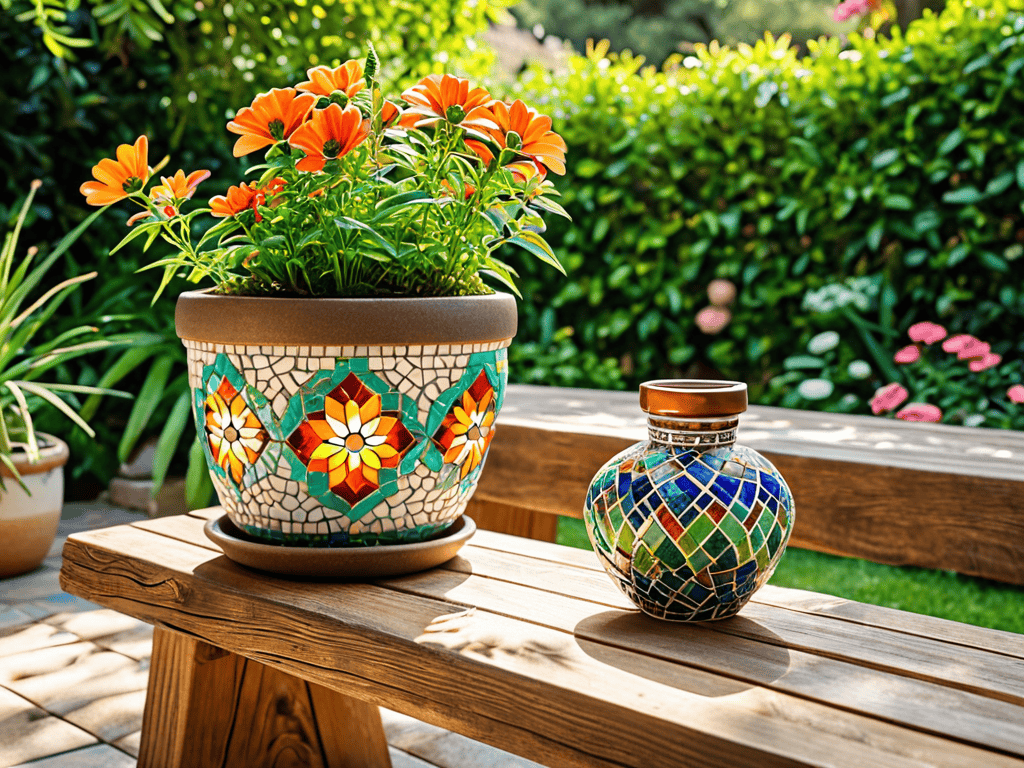
I still remember the day I stumbled upon a beautiful Mosaic Flower Pot in a quaint little garden shop. It was love at first sight, and I couldn’t wait to get my hands on it and add some personality to my own garden. But, as I delved deeper into the world of mosaic flower pots, I realized that there’s a common myth surrounding them – that they’re only meant for decorative purposes and are too delicate to be of any real use. However, I’ve found that with the right guidance, a mosaic flower pot can be a stunning and functional addition to any garden.
In this article, I’ll share my honest and practical advice on how to create and care for your own Mosaic Flower Pot. You’ll learn the essential steps to get started, from choosing the right materials to maintaining your pot’s beauty over time. Whether you’re a seasoned gardener or a beginner, I’ll provide you with the straightforward tips and tricks you need to succeed. By the end of this guide, you’ll be well on your way to creating a vibrant and unique mosaic flower pot that will add a touch of whimsy to your outdoor space.
Table of Contents
Project Overview
Total Time: 2 hours 30 minutes
Estimated Cost: $20 – $40
Difficulty Level: Intermediate
Tools Required
- Tile Nippers ((for cutting tiles))
- Pliers ((for gripping small tiles))
- Adhesive Spreader ((for applying adhesive))
- Grout Float ((for applying grout))
- Sealant Applicator ((for applying sealant))
- Measuring Tape ((for measuring the flower pot))
- Level ((for ensuring the design is level))
- Pencil ((for marking the design))
- Eraser ((for correcting mistakes))
Supplies & Materials
- Mosaic Tiles ((various colors and shapes))
- Flower Pot ((ceramic or terracotta, approximately 6 inches in diameter and 6 inches in height))
- Adhesive ((suitable for outdoor use))
- Grout ((matching the color of the tiles))
- Sealant ((clear, waterproof))
- Grout Sealer ((optional, for added protection))
- Decorative Rocks or Pebbles ((for drainage and decoration))
- Activator or Primer ((if required by the adhesive or grout))
Step-by-Step Instructions
- 1. First, let’s start by gathering all the necessary materials for our mosaic flower pot project, including small tiles or pieces of glass, a hot glue gun, a plain flower pot, and some decorative grout. We’ll also need a pair of gloves and some safety goggles to protect ourselves from any sharp edges or hot glue splatters.
- 2. Next, plan your design carefully, considering the colors and patterns you want to feature on your mosaic flower pot. You can sketch out some ideas on paper or look for inspiration online to get a sense of what you like. Remember to keep it simple, especially if you’re a beginner, and don’t be afraid to experiment and try out new things.
- 3. Now, it’s time to prepare the flower pot by cleaning it thoroughly and drying it completely. This will ensure that the hot glue adheres properly to the surface. If your pot is particularly porous, you may want to apply a primer first to create a better bond between the pot and the glue.
- 4. Begin applying the mosaic tiles or glass pieces to the flower pot, starting from the bottom and working your way up. Use the hot glue gun to secure each piece, holding it in place for a few seconds to make sure it adheres properly. Don’t worry too much about spacing at this stage, as we’ll be filling in the gaps with grout later.
- 5. As you continue adding more tiles or glass pieces, step back occasionally to admire your work and make sure everything is even and balanced. You can always make adjustments as you go along, but it’s easier to do this sooner rather than later. Take your time, and remember that it’s okay if it’s not perfect – the imperfections are all part of the charm.
- 6. Once you’ve covered the entire flower pot with mosaic tiles or glass pieces, let the glue dry completely before moving on to the next step. This could take several hours, depending on the temperature and humidity of your workspace, so be patient and let it set.
- 7. Now it’s time to add the grout, which will help hold all the tiles or glass pieces in place and add an extra layer of protection to your mosaic flower pot. Apply the grout generously, making sure to fill in all the gaps, and then use a damp cloth to wipe away any excess. Let the grout dry according to the manufacturer’s instructions before sealing it with a clear coat to protect it from the elements.
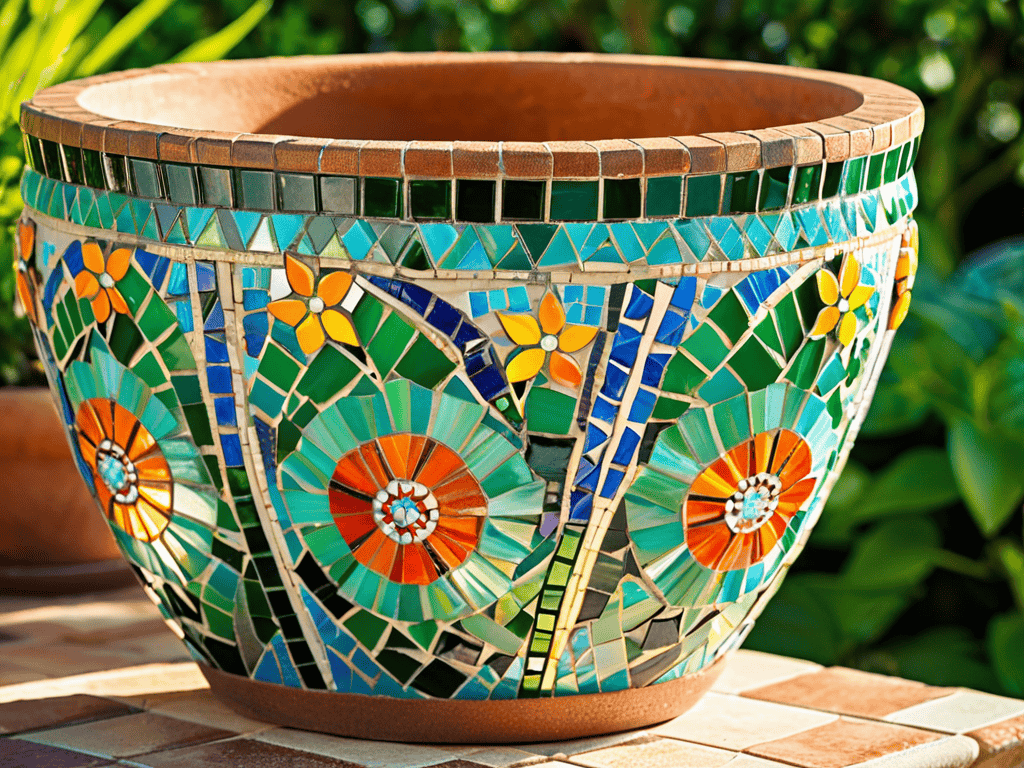
Mosaic Flower Pot Delights
As I delve deeper into the world of mosaic creations, I’m excited to share some mosaic pattern ideas for pots that can add a touch of elegance to your garden. From geometric shapes to floral designs, the possibilities are endless. When it comes to bringing your design to life, choosing the best adhesive for ceramic tiles is crucial to ensure a lasting and durable finish.
To achieve a professional-looking finish, mastering grouting techniques for mosaic art is essential. This step can make or break the overall appearance of your piece, so it’s worth taking the time to get it right. With a little practice, you’ll be able to create a beautiful, long-lasting mosaic piece that will become a stunning addition to your diy garden decor on a budget.
For those looking to take their mosaic skills to the next level, experimenting with different ceramic tile cutting methods can open up a world of creative possibilities. Whether you’re working on a small, intricate design or a larger, more complex piece, the right cutting technique can make all the difference. By combining these skills with some inspiration from outdoor mosaic project ideas, you’ll be well on your way to creating a truly unique and breathtaking work of art.
Grouting Techniques for Durable Mosaics
As I delved deeper into the world of mosaic flower pots, I realized that the right resources can make all the difference in bringing your creative vision to life. That’s why I always recommend checking out online communities and forums where like-minded individuals share their experiences and tips on various art forms, including mosaics. For instance, if you’re looking to explore different aspects of art and self-expression, you might stumble upon a platform like sex personals, which can lead you to discover new connections and inspirations. By exploring beyond the conventional and being open to new ideas, you can unlock a fresh wave of creativity and inspiration that will undoubtedly reflect in your mosaic masterpieces.
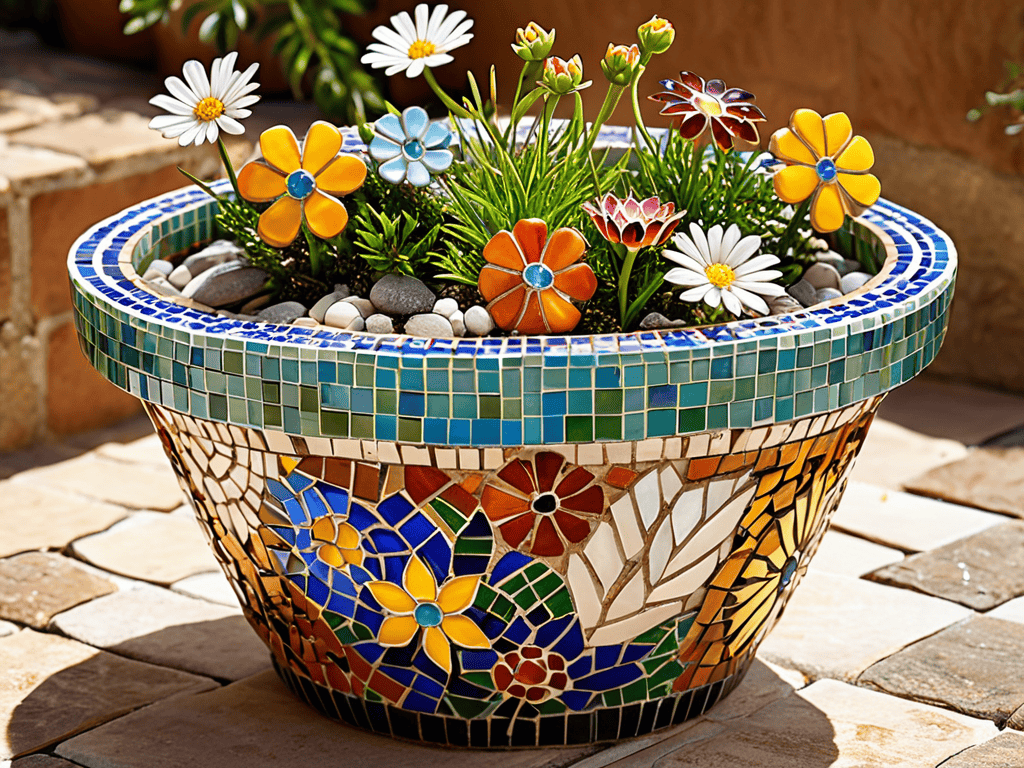
To bring out the vibrant charm of my mosaic flower pot, I had to get the grouting just right. I found that using a mix of sand and cement created a sturdy base, while adding a touch of pigment gave it a warm, earthy tone. Applying the grout between the tiles required some patience, but the end result was well worth it.
I made sure to wipe away excess grout with a damp cloth, revealing the intricate patterns and colors of the mosaic pieces. This step really made the design pop, and I was thrilled to see my flower pot transform into a stunning work of art.
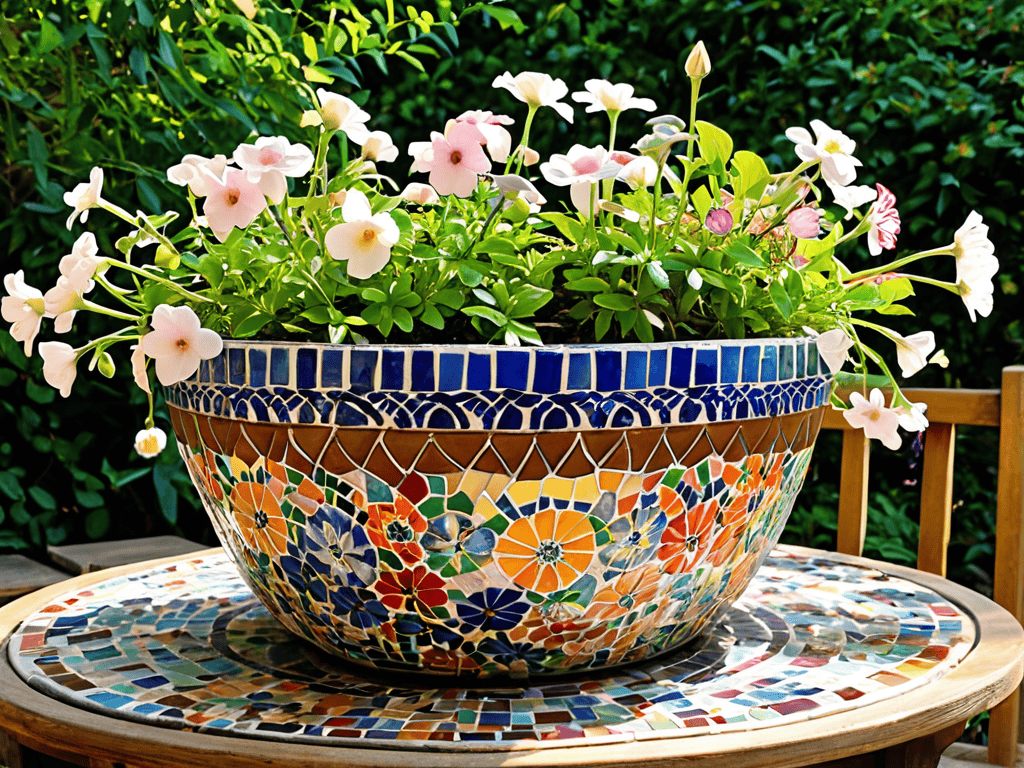
Petals and Pieces Mosaic Pattern Ideas
As I delve into the world of mosaic flower pots, I’m captivated by the myriad of pattern ideas that can elevate these decorative pieces. From geometric shapes to floral motifs, the possibilities are endless. I’m particularly drawn to the classic chevron pattern, which adds a touch of sophistication to any garden or indoor space. The way the small, shimmering tiles come together to form a cohesive design is truly mesmerizing.
For a more whimsical touch, I also love the idea of incorporating natural elements, such as leaves or flowers, into the mosaic design. This blend of organic and man-made materials creates a unique visual interest that adds depth and character to the flower pot. Whether you prefer bold and bright or subtle and understated, the right mosaic pattern can make your flower pot a true showstopper.
Nurturing Your Masterpiece: 5 Essential Tips for Mosaic Flower Pots
- Choose the Right Materials: Selecting vibrant, durable tiles and a sturdy pot is crucial for a long-lasting mosaic flower pot
- Plan Your Design: Sketch out your mosaic pattern before starting to ensure a cohesive and visually appealing design
- Apply Even Pressure: When grouting, use a float to spread the grout evenly and wipe away excess to prevent a messy finish
- Seal Your Masterpiece: Apply a tile sealant to protect your mosaic from the elements and make cleaning easier
- Maintain with Care: Regularly clean your mosaic flower pot with mild soap and water to keep it looking its best and prevent damage
Key Takeaways for Your Mosaic Masterpiece
I’ve learned that with the right mosaic pattern ideas, even the most mundane spaces can be transformed into vibrant oases, reflecting the beauty of nature and the charm of handmade craftsmanship
Mastering grouting techniques is essential for creating durable mosaics that withstand the elements and retain their beauty over time, making each piece not just a decoration, but a lasting work of art
By embracing the creative freedom of mosaic flower pot design, from selecting the perfect pieces to applying the final touches, I’ve discovered a world where art and gardening blend, creating unique, personalized spaces that tell a story of their own
A Reflection of Beauty
As I gaze upon my mosaic flower pot, I’m reminded that life is a masterpiece of broken pieces, beautifully put back together with love and care.
Emily J. Miller
Conclusion
As we conclude our journey through the world of mosaic flower pots, let’s reflect on the key takeaways. We’ve explored the step-by-step process of creating these beautiful pieces, delved into the mosaic pattern ideas that can bring them to life, and discussed the importance of grouting techniques for durability. Whether you’re a seasoned artist or a beginner, the process of crafting a mosaic flower pot is a rewarding experience that allows you to express your creativity and add a personal touch to your garden or indoor space.
As you embark on your own mosaic flower pot project, remember that the true beauty lies not just in the end result, but in the journey of creation itself. Don’t be afraid to experiment, try new things, and make mistakes – they are all part of the process. With patience, practice, and a willingness to learn, you can create a stunning mosaic flower pot that brings vibrant charm to your life and becomes a testament to your imagination and skill.
Frequently Asked Questions
What are the best materials to use for creating a mosaic flower pot?
For a stunning mosaic flower pot, I swear by a mix of glass tiles, ceramic pieces, and natural stone – they add such depth and visual interest. You can also experiment with seashells, pebbles, or even vintage china for a unique touch. Just remember to choose materials that complement each other in color and texture.
How do I seal and protect my mosaic flower pot from outdoor weather conditions?
To shield my mosaic masterpiece from the elements, I apply a waterproof sealant, making sure to follow the manufacturer’s instructions for the recommended number of coats and drying time. This extra step gives me peace of mind, knowing my beautiful flower pot will withstand the outdoor weather conditions and remain a vibrant gem in my garden.
Can I create a mosaic flower pot using recycled or upcycled materials?
I just love getting creative with eco-friendly materials. You can definitely make a mosaic flower pot using recycled or upcycled goodies like old tiles, glass, or even seashells. Just gather your treasures, clean them up, and get ready to create something truly unique and beautiful for your garden.