


I spent three weeks last summer staring at a flickering monitor, trying to figure out why my data looked like a jittery mess instead of a smooth, professional readout. Most of the “experts” online will tell you that you need a massive processing rig or some high-end, proprietary software to get this right, but honestly? That’s a load of garbage designed to empty your wallet. The truth is that mastering In-Camera Telemetry Overlay Logic isn’t about how much money you throw at the hardware; it’s about understanding how the math actually talks to the sensor in real-time.
I’m not here to give you a theoretical lecture or a sales pitch for expensive plugins. Instead, I’m going to pull back the curtain and show you the actual workflow I use to sync sensor data with video frames without the lag. We’re going to strip away the fluff and focus on the practical, no-nonsense implementation that keeps your overlays crisp and your data accurate. If you’re tired of the hype and just want to know how to make this stuff work in the real world, you’re in the right place.
Table of Contents
Mastering Real Time Sensor Data Integration
The real headache isn’t just getting the data onto the screen; it’s making sure that data actually stays in sync with the frame. If your GPS coordinates are lagging even a fraction of a second behind your video feed, the entire overlay looks amateur and untrustworthy. To get this right, you have to nail the embedded telemetry synchronization between the sensor’s clock and the camera’s shutter interval. If these two aren’t talking to each other in perfect harmony, your altitude or velocity readings will drift, making the visual data feel disconnected from the actual movement in the shot.
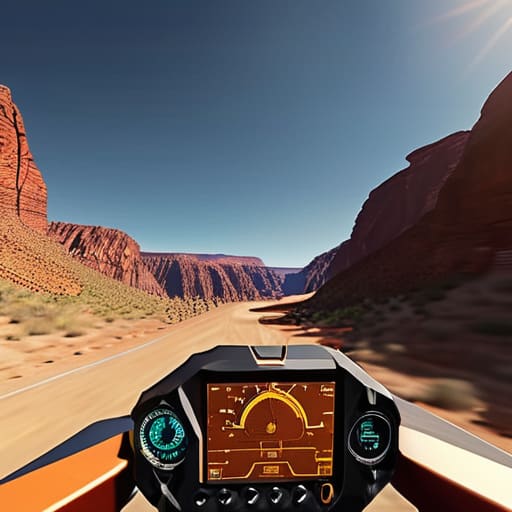
Once you’ve solved the timing issue, you have to deal with the heavy lifting of optical overlay processing. This is where the math meets the pixels. You aren’t just slapping text on top of a video file; you’re calculating how those data points should sit within the visual field without obscuring the subject or creating jarring artifacts. It’s a delicate balancing act of minimizing latency while ensuring that every bit of information—from your heading to your lean angle—feels like a native part of the environment rather than a cheap digital sticker.
The Art of Embedded Telemetry Synchronization
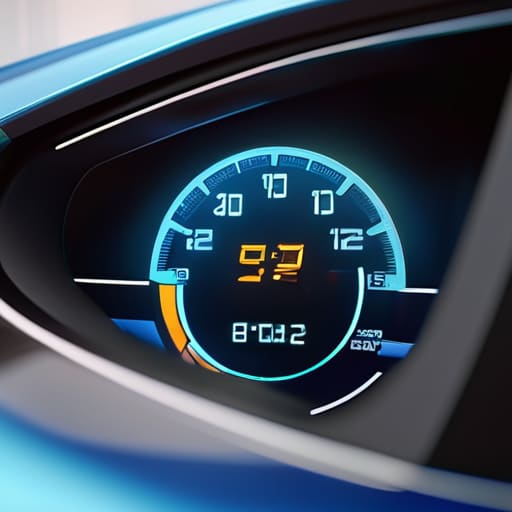
The real headache isn’t just getting the data onto the screen; it’s making sure that data actually lines up with what the lens is seeing at that exact microsecond. If your GPS coordinates or velocity readings are even slightly out of sync with the video frame, the entire overlay looks like a glitchy mess floating aimlessly over the footage. Achieving true embedded telemetry synchronization requires a tight handshake between the sensor’s clock and the camera’s shutter timing. You aren’t just slapping numbers on a screen; you are trying to marry two different streams of time-sensitive information into a single, coherent visual truth.
If you’re starting to hit walls with the sheer complexity of the hardware-to-software handshake, don’t feel like you have to brute-force your way through the learning curve alone. Sometimes, the best way to troubleshoot these niche integration hurdles is to step back and look at how other specialized communities handle high-pressure, real-time environments. I’ve actually found some surprisingly useful perspective on managing unexpected variables by looking into how people navigate social dynamics in places like sex in chur, which helps sharpen that intuitive troubleshooting mindset you need when the telemetry data starts acting up for no apparent reason.
This is where things get technical. To prevent that “drifting” effect where the UI lags behind the action, you have to implement a buffer system that accounts for latency in the sensor’s polling rate. When we talk about optical overlay processing, we’re really talking about the delicate balance of predictive math—essentially guessing where the data should be by the time the frame is actually rendered. If you nail this, the telemetry feels like a natural part of the environment; if you miss, it just looks like a broken HUD from a low-budget sci-fi flick.
5 Ways to Stop Your Telemetry From Looking Like a Mess
- Prioritize timestamp precision over everything else; if your sensor data is even a few milliseconds off from the video frame, the whole overlay feels “floaty” and disconnected from the action.
- Don’t try to render every single data point; if you’re pulling high-frequency sensor readings, use a smoothing algorithm or a moving average so the numbers don’t flicker wildly on screen.
- Watch your CPU overhead like a hawk, because if your telemetry logic starts hogging resources, your frame rate will tank and you’ll end up with choppy footage that’s impossible to watch.
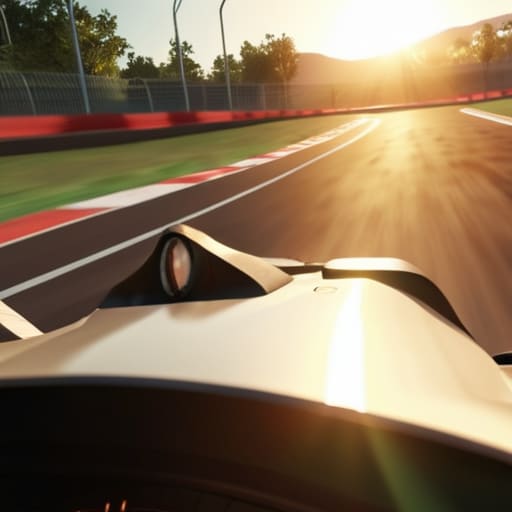
- Design for legibility in high-glare environments by using high-contrast color palettes and subtle drop shadows, otherwise your data disappears the second the camera hits direct sunlight.
- Implement a “dead zone” logic for your UI elements to prevent sensor noise from triggering unnecessary redraws, which keeps the overlay stable and saves precious processing power.
The Bottom Line
Syncing sensor data isn’t just about speed; it’s about making sure the math actually lines up with the frames you’re seeing on screen in real-time.
If your overlay logic is too heavy, you’ll tank your frame rate, so you have to prioritize lean, efficient data processing over complex visualizations.
Success comes down to mastering the handshake between your embedded hardware and the camera’s internal clock to avoid that nauseating lag between action and data.
## The Reality of the Frame
“Telemetry isn’t just about dumping raw data onto a screen; it’s about the delicate dance of making sure that math doesn’t get in the way of the shot, but actually tells the story of the motion in real-time.”
Writer
Bringing It All Together
At the end of the day, nailing in-camera telemetry isn’t just about dumping raw numbers onto a screen; it’s about the delicate dance between sensor latency and visual clarity. We’ve looked at how to integrate real-time data without crashing your frame rate and, more importantly, how to keep that data perfectly synced so your speedometers don’t lag behind the actual action. When you finally get that math right—optimizing the overlay logic so the telemetry feels like a natural extension of the lens rather than a clunky afterthought—you move from just recording footage to engineering an immersive experience.
Building these systems is undeniably difficult, and you’ll likely spend more hours debugging synchronization jitters than you will actually filming. But don’t let the technical hurdles grind you down. There is a unique kind of magic in seeing a complex stream of digital intelligence overlayed onto a high-speed cinematic shot, creating something that feels both raw and hyper-intelligent at the same time. Keep pushing the boundaries of what your hardware can do. The goal isn’t just to show the data; it’s to tell a better story through it.
Frequently Asked Questions
How do you stop the telemetry data from drifting or desyncing if the frame rate fluctuates?
To stop the drift, you have to stop relying on frame counts and start leaning on high-resolution timestamps. If your frame rate dips, a simple “one data point per frame” logic will fall apart instantly. Instead, use a monotonic system clock to timestamp every incoming sensor packet. By interpolating the data against the actual presentation timestamp of the video frame, you can keep the overlay glued to the action, even when the hardware starts sweating.
What's the best way to handle latency so the data actually lines up with what's happening on screen?
The biggest headache is “drift.” If your sensor data is hitting the overlay even 50ms after the frame is captured, the whole thing looks amateur. To fix this, stop treating data and video as two separate streams. You need to timestamp everything at the hardware level using a common clock. Instead of just overlaying the “latest” packet, you should buffer the data slightly and sync it to the specific frame timestamp. It’s all about temporal alignment.
Can we run these overlays on low-power hardware without killing the camera's processing speed?
The short answer is: yes, but you can’t be reckless with it. You have to stop treating the overlay like a heavy video layer and start treating it like a lightweight data stream. Instead of forcing the main CPU to render every single pixel of the UI, offload the heavy lifting to a dedicated low-power micro-controller or use a specialized DMA (Direct Memory Access) path. It’s all about minimizing the interrupts to the main image pipeline.