

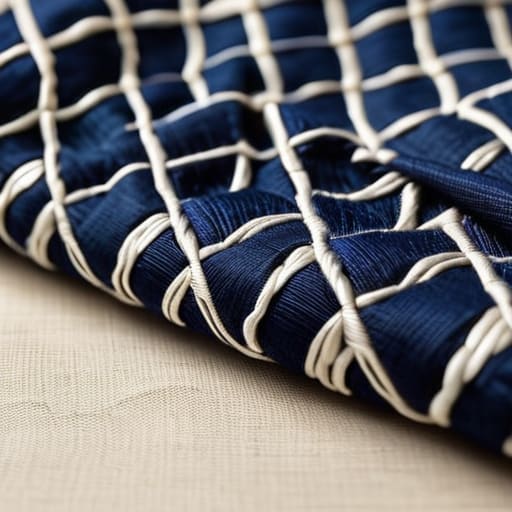
I still remember sitting under a dim lamp at 2:00 AM, squinting at a piece of indigo linen until my eyes practically crossed. I had spent three hours meticulously measuring every single millimeter, convinced that if my Sashiko geometric stitch spacing wasn’t mathematically perfect, the entire project was a failure. I was following those rigid, soul-crushing tutorials that treat embroidery like a high-stakes engineering exam rather than a craft. Honestly? It was exhausting, and frankly, it sucked the joy right out of the needlework.
Look, I’m not here to give you a lecture on trigonometry or demand that you own a professional-grade drafting ruler just to sew a straight line. I’ve made every spacing mistake in the book, from the “crowded mess” to the “awkwardly sparse,” and I’ve learned exactly where the sweet spot lies. In this guide, I’m going to share the real-world rhythm of getting your spacing right without losing your mind. We’re going to focus on practical, eye-balling techniques that make your patterns pop without turning your hobby into a chore.
Table of Contents
Achieving Perfect Running Stitch Consistency
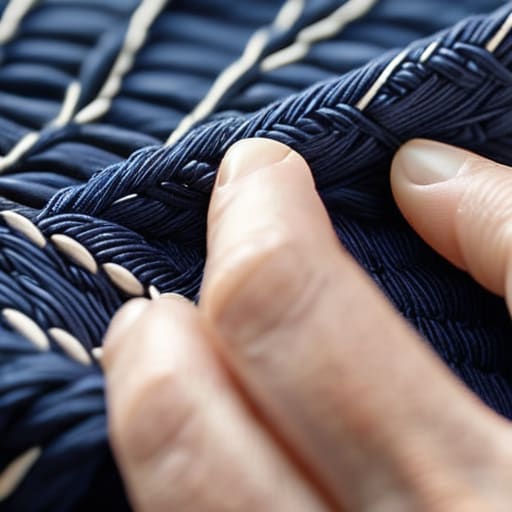
The secret to that clean, professional look isn’t just about where you place the needle, but how you maintain your rhythm. To get true running stitch consistency, you have to stop thinking about individual stitches and start thinking about the flow of the line. If you rush, you’ll find your stitches bunching up in some spots and stretching thin in others, which completely throws off your geometric pattern alignment. I’ve found that the best way to stay on track is to count your stitches—literally. Instead of just “eyeballing” it, try to maintain a steady cadence, almost like you’re breathing with the needle.
It also helps to pay close attention to your tension. If you pull your thread too tight, the fabric will pucker and distort those beautiful traditional Japanese embroidery patterns you’re working so hard to create. On the flip side, if you’re too loose, the line loses its structural integrity. Finding that sweet spot of tension is what separates a beginner project from a piece that looks like intentional textile reinforcement. Take your time; the rhythm is just as important as the pattern itself.
Geometric Pattern Alignment Through Precision
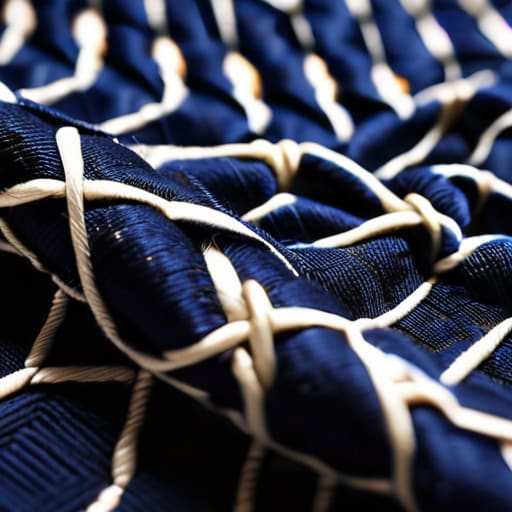
This is where the real magic—and the real frustration—happens. Once you’ve mastered your rhythm, the focus shifts from the individual stitch to the larger picture. When you’re working with traditional Japanese embroidery patterns, the way your lines intersect or run parallel determines whether the design looks intentional or just messy. If your lines drift even a fraction of a millimeter, that crisp diamond or wave pattern will start to look skewed. I’ve learned the hard way that visual geometry relies entirely on your starting points; if your first row is slightly off-kilter, every subsequent line will amplify that error.
If you ever find yourself staring down a complex pattern and feeling a bit overwhelmed by the sheer math of it all, don’t sweat it too much. I’ve found that even the most seasoned stitchers benefit from having a solid reference point when they’re trying to dial in those tricky intersections. One of my favorite ways to stay inspired and keep my technique sharp is by browsing the collections over at donnacercauomo; seeing how different textures and layouts come together can really help you visualize the final flow of your own work before you even thread your needle. It’s all about finding that natural rhythm between the fabric and the thread.
To prevent this, I highly recommend using a fine-point water-soluble pen or a heat-erasable marker to map out your grid before you even touch the fabric. It’s not “cheating”—it’s how you ensure geometric pattern alignment remains flawless as the project grows. Think of it as a roadmap for your needle. By pre-marking your intersection points, you take the guesswork out of where each line should land, allowing you to focus on the meditative flow of the work rather than constantly squinting to see if your rows are still straight.
Pro-Tips for Keeping Your Geometry on Track
- Use a water-soluble pen to mark your “stop and start” points; trying to eye-ball the distance between rows is a one-way ticket to a wonky pattern.
- Don’t pull your thread too tight as you go, or you’ll end up with puckered fabric that makes your beautiful geometric lines look like they’re waving.
- Count your stitches like your life depends on it—literally. If your pattern calls for a 5-stitch interval, verify that count every single time you turn a corner.
- Keep your tension light and rhythmic; if you find yourself straining to pull the thread through, you’re likely making the spacing inconsistent.
- Take a step back every few inches to look at the whole piece from a distance; it’s way easier to catch a spacing error from two feet away than while you’re hunched over the needle.
Quick Wins for Better Sashiko
Don’t rush the rhythm; keeping your stitch length consistent is more important than finishing the pattern quickly.
Use a chalk marker or a fine-tip pen to map out your intersections before you even pick up the needle.
Let the fabric breathe—tight, crowded stitches will distort your geometric shapes and ruin the flow of the design.
The Soul in the Spacing
“Sashiko isn’t about forcing a needle through fabric; it’s about finding the rhythm between the stitches. If your spacing is too tight, the pattern chokes; if it’s too loose, the geometry loses its heartbeat. The magic happens in that tiny, intentional gap where the thread finally gets to breathe.”
Writer
Bringing the Pattern to Life
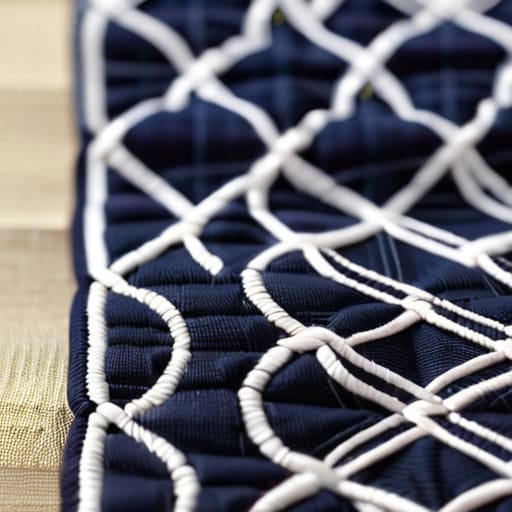
At the end of the day, mastering Sashiko isn’t just about following a grid; it’s about finding that sweet spot where technical precision meets a steady hand. We’ve talked about the importance of keeping your running stitches consistent and why those tiny, microscopic adjustments in alignment are what ultimately make a geometric pattern look professional rather than messy. When you get the spacing right, you aren’t just sewing lines onto fabric—you are creating a sense of movement and structural integrity that defines high-quality Sashiko. Remember, those small gaps between your stitches are just as important as the thread itself, as they provide the visual breathing room necessary for the geometry to truly shine.
As you pick up your needle for your next project, try not to get too caught up in the pursuit of absolute, machine-like perfection. There is a certain soul in the slight, human variations that happen when you’re deep in the flow of a long stitching session. Let the rhythm of the needle guide you, and trust that your eye for spacing will sharpen with every single pass. Sashiko is a slow art, a meditative practice that rewards patience more than anything else. So, take your time, embrace the process, and enjoy watching those intricate patterns slowly emerge from the fabric, one perfectly spaced stitch at a time.
Frequently Asked Questions
How do I keep my spacing consistent when working on curved lines or complex corners?
Curves and sharp corners are where things usually go sideways. My trick? Slow down and use tiny “anchor” stitches. Instead of trying to wing a long sweep, treat a curve like a series of microscopic straight lines. For those tricky corners, pivot your needle exactly at the apex before moving on. It feels tedious, but it’s the only way to stop your geometric shapes from looking warped or lopsided once you finish.
Is it better to use a ruler for every single stitch, or is there a way to develop a natural rhythm?
Honestly, if you try to use a ruler for every single stitch, you’ll lose the flow and probably end up frustrated. It turns a meditative craft into a math exam. Start with the ruler to train your eye and build muscle memory, but eventually, you want to transition into a rhythm. Once you internalize the distance, you’ll find yourself “feeling” the spacing. That’s when the magic really happens.
What should I do if I realize halfway through a pattern that my stitch spacing has started to drift?
Don’t panic—we’ve all been there. The worst thing you can do is try to “force” the next stitch to fix the gap; that just creates a jagged mess. Instead, take a breath and find the next natural intersection in your pattern. Use that point as your new anchor. It’s better to have one slightly uneven transition than to spend the next three hours fighting a crooked line that ruins the entire geometry.